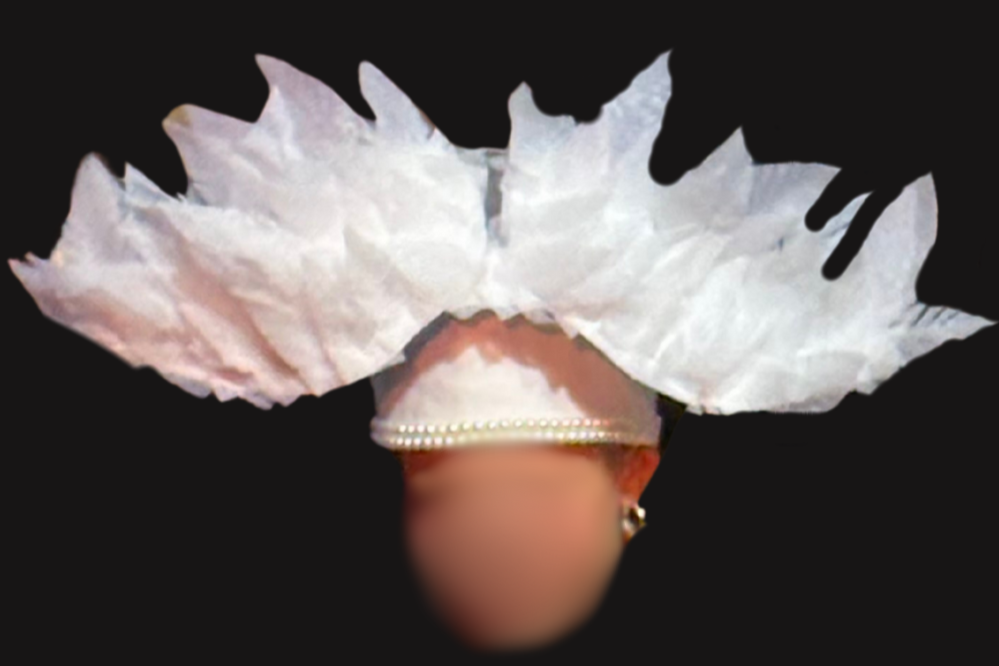
Lion King Jr Musical: White Bird Headpiece
This no-sew white bird headpiece was created for Lion King JR productions with large casts and volunteer costume teams in mind. It uses inexpensive, easy-to-find materials, can be assembled quickly and consistently, and is designed to stay around $5 per build using supplies from craft stores, dollar stores, or previous projects.
Materials & Tools – Before starting, gather the following materials so the build goes smoothly:
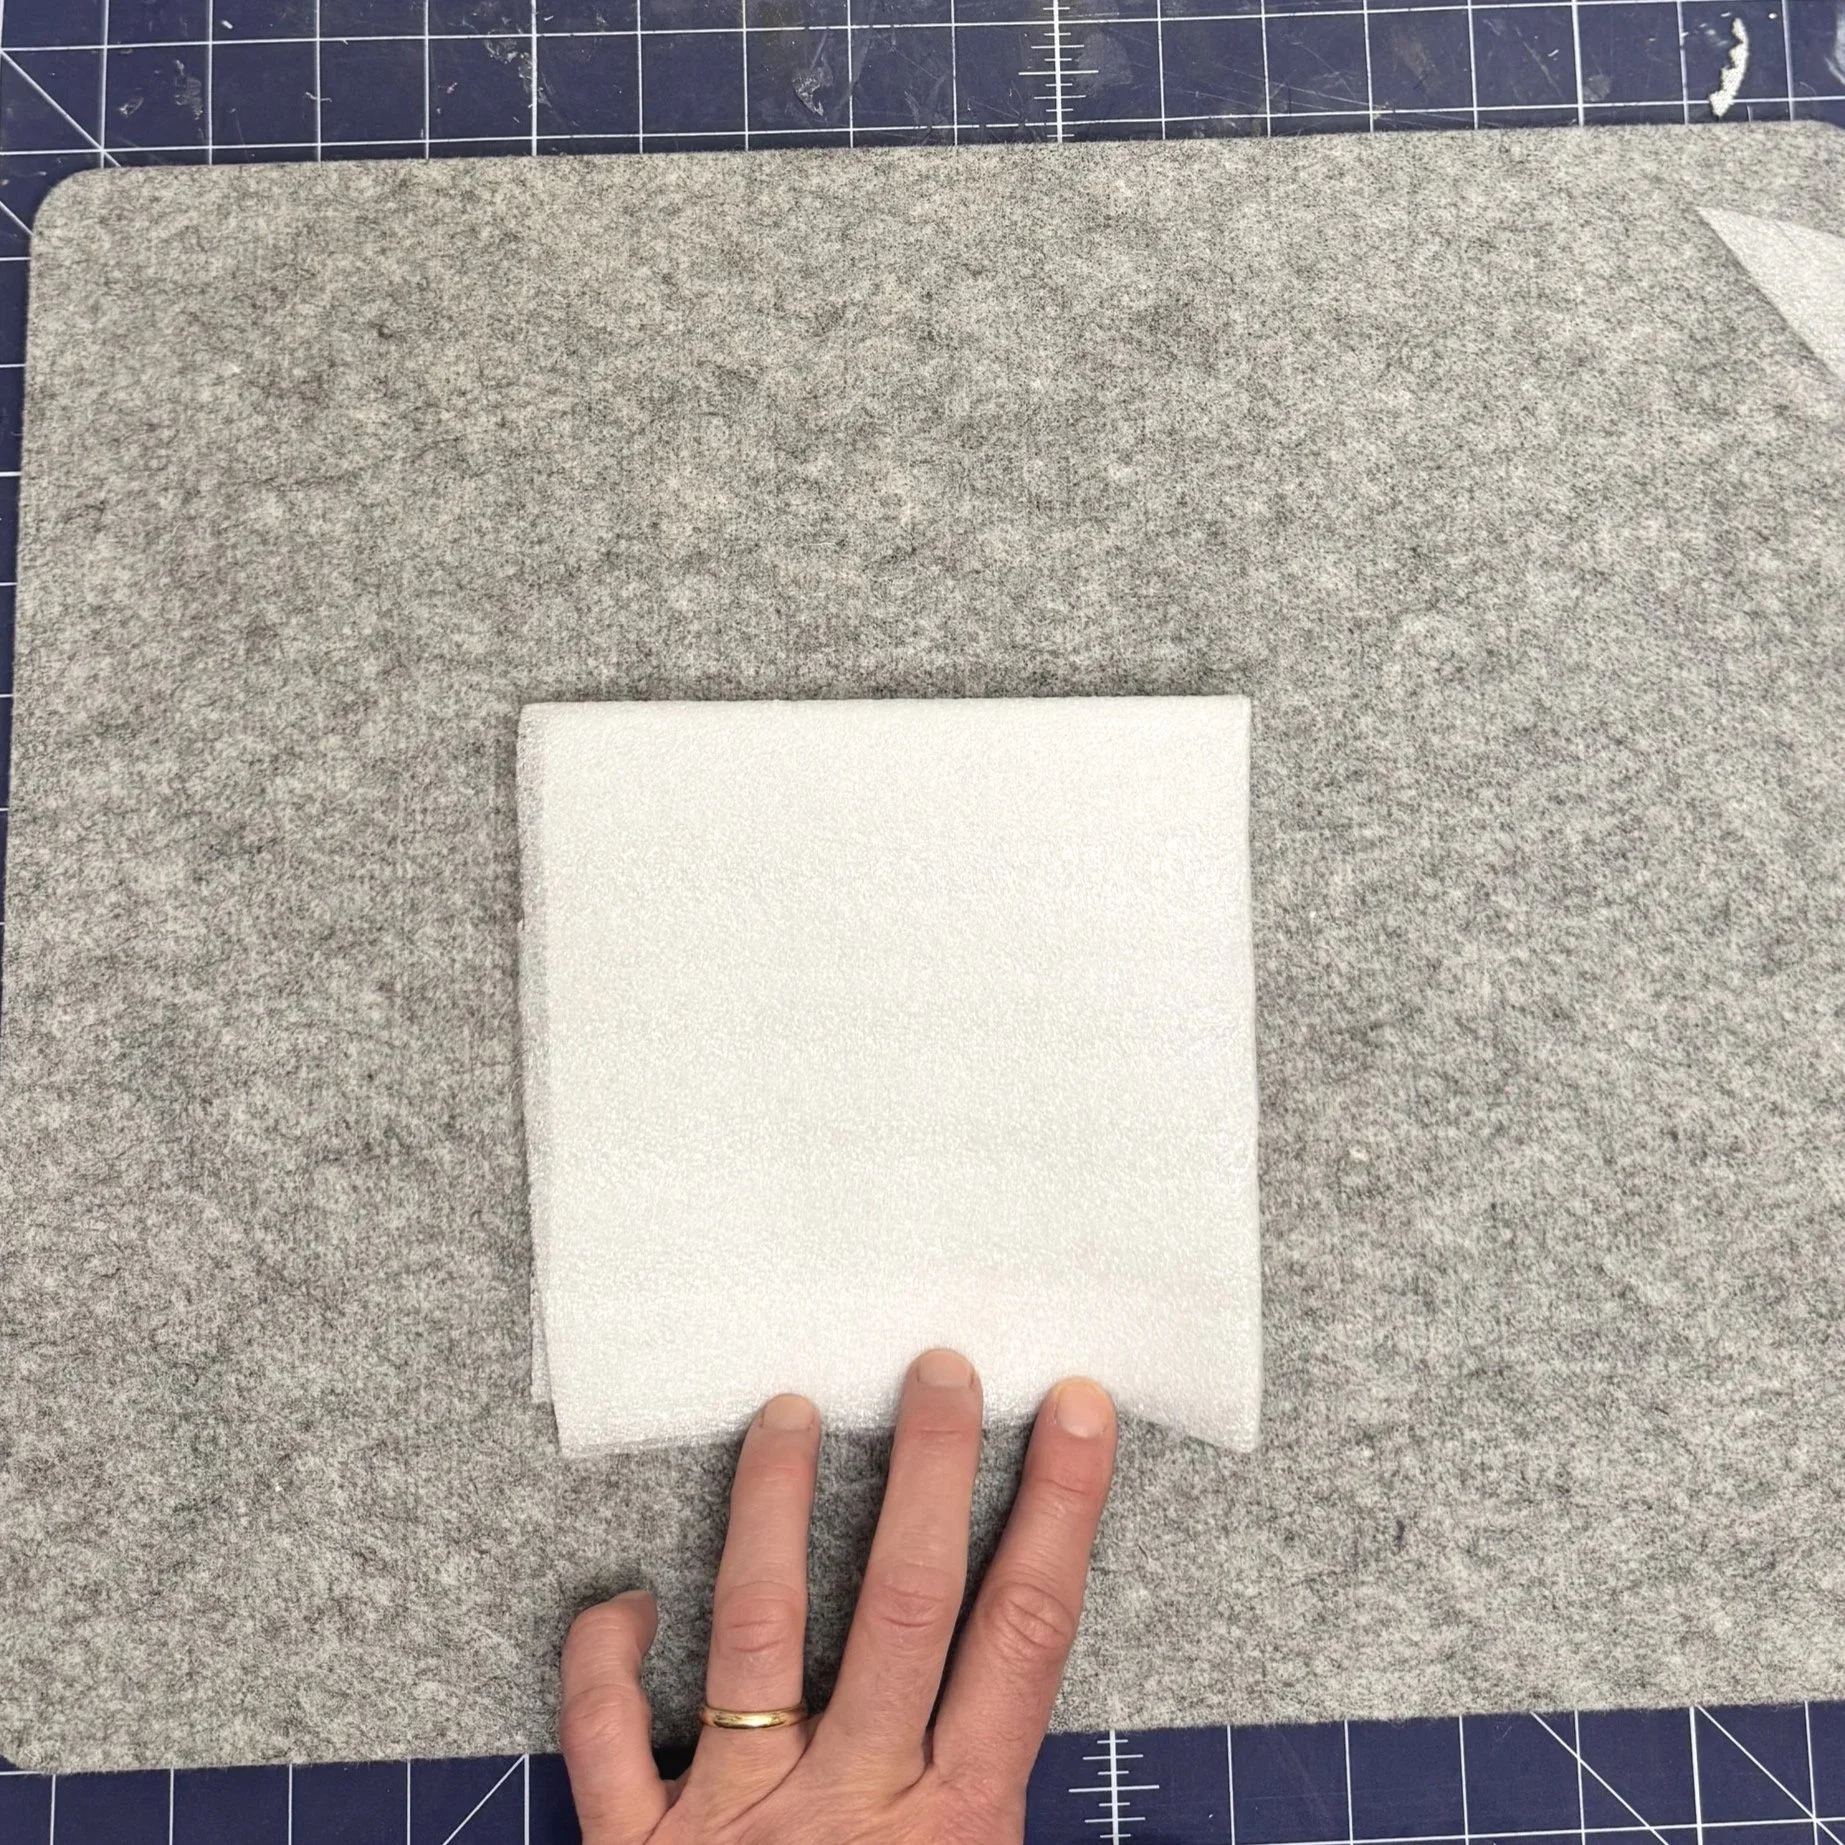
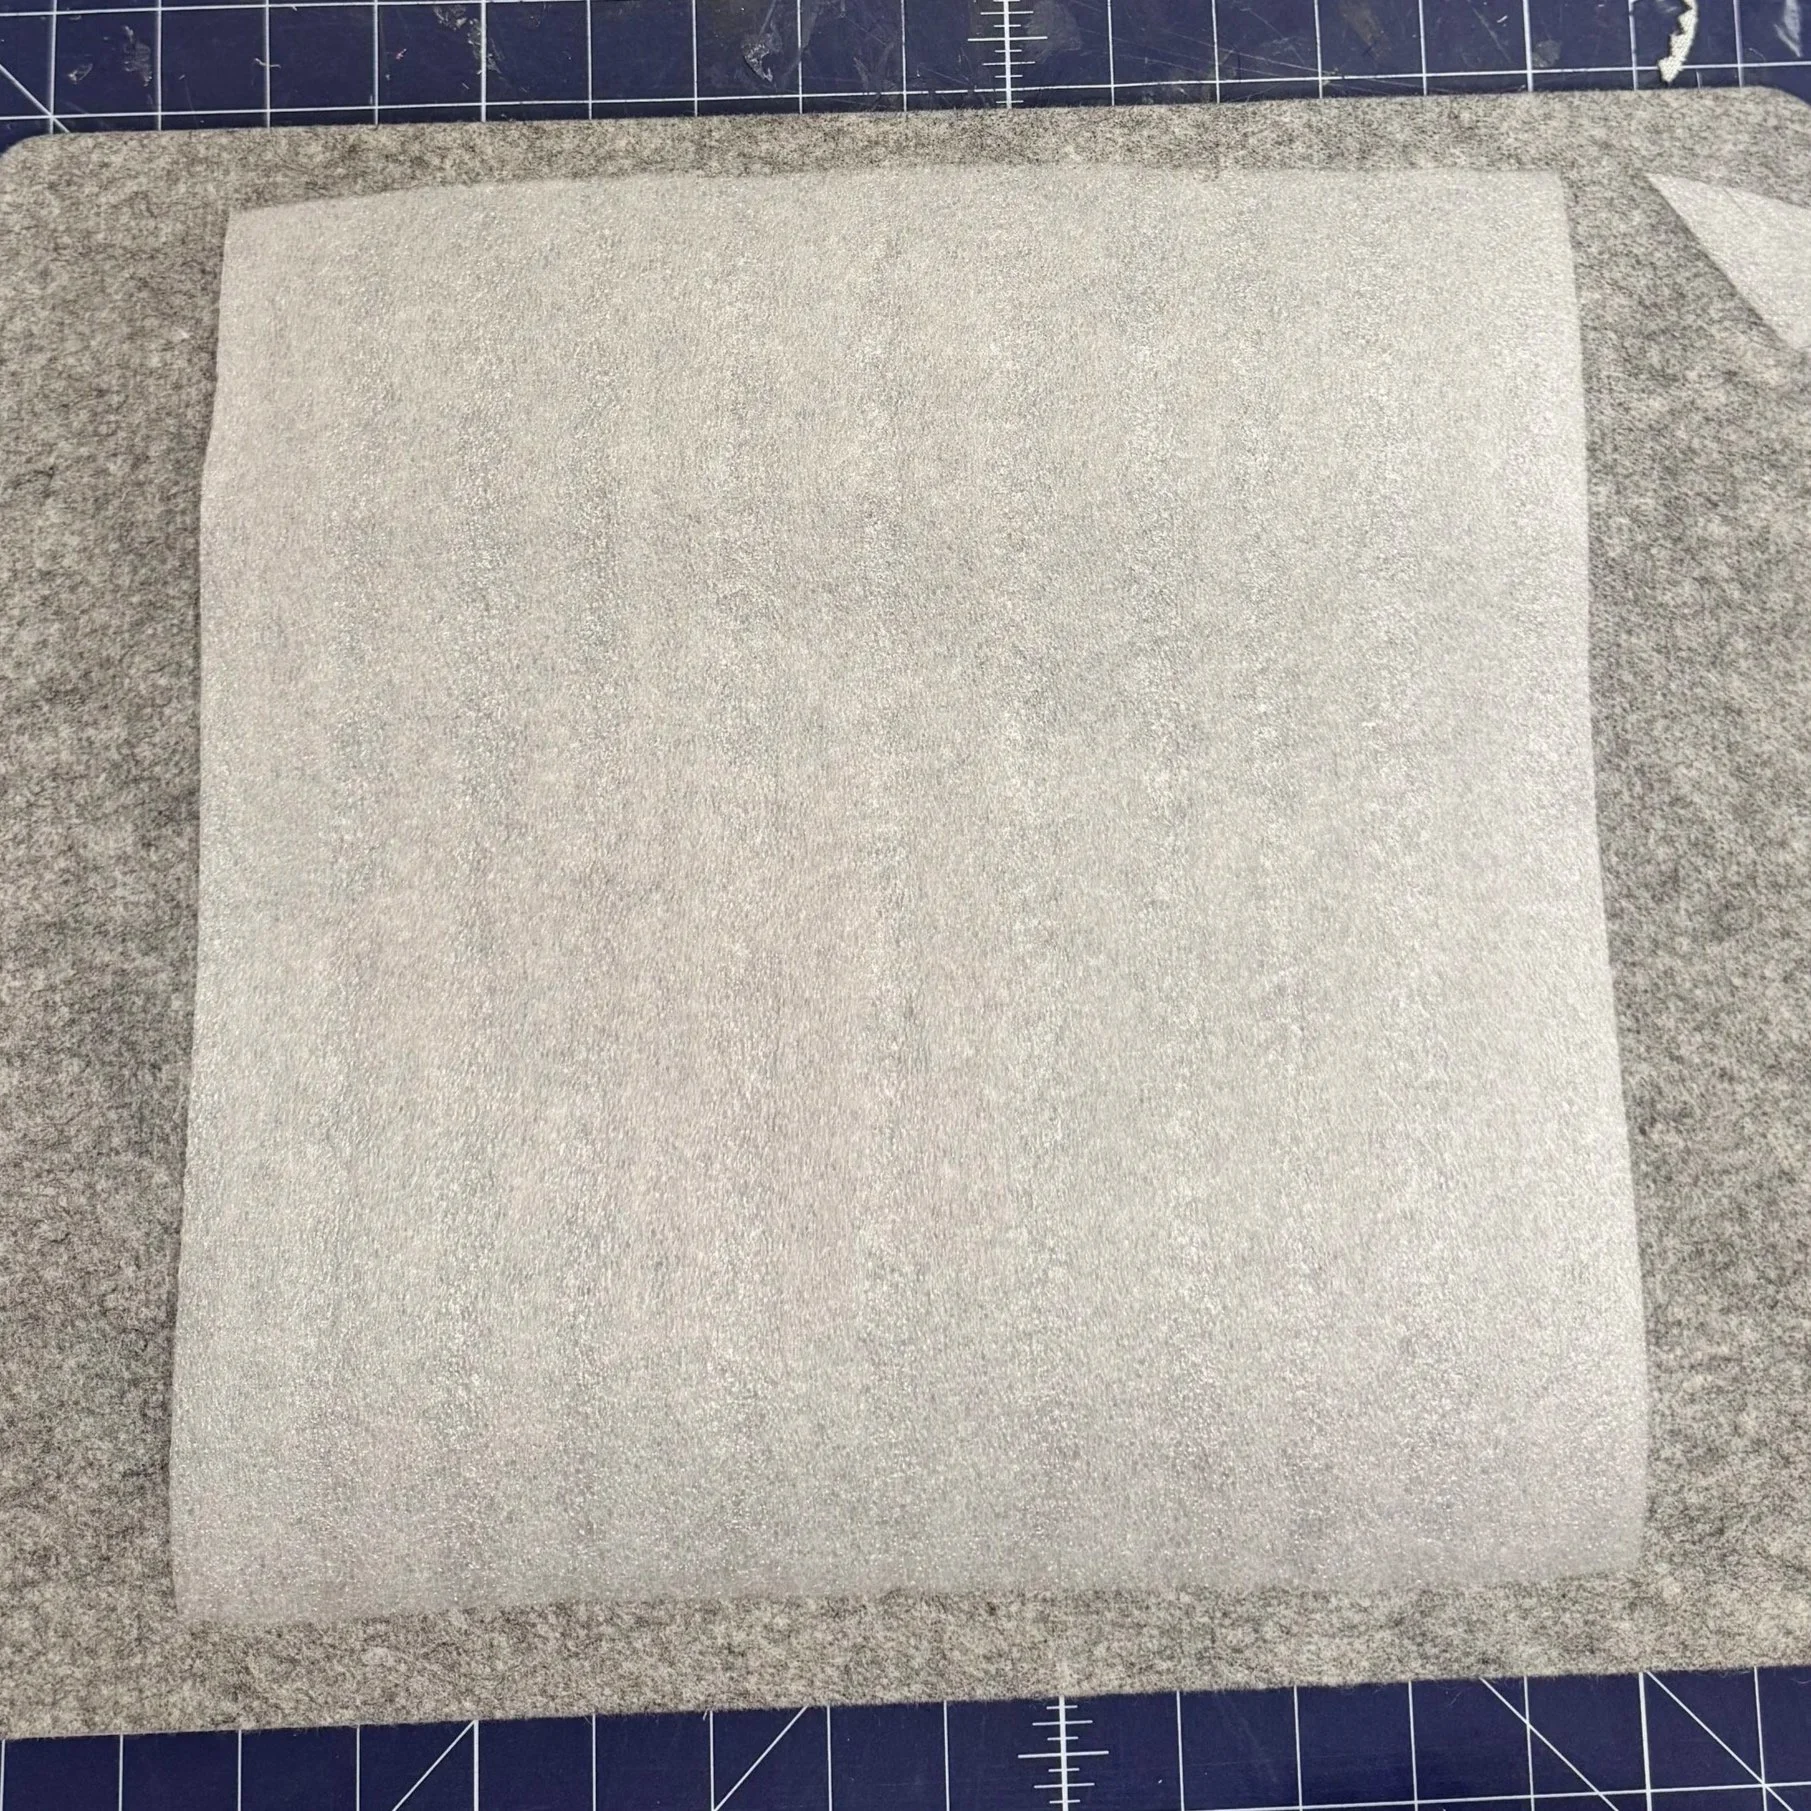
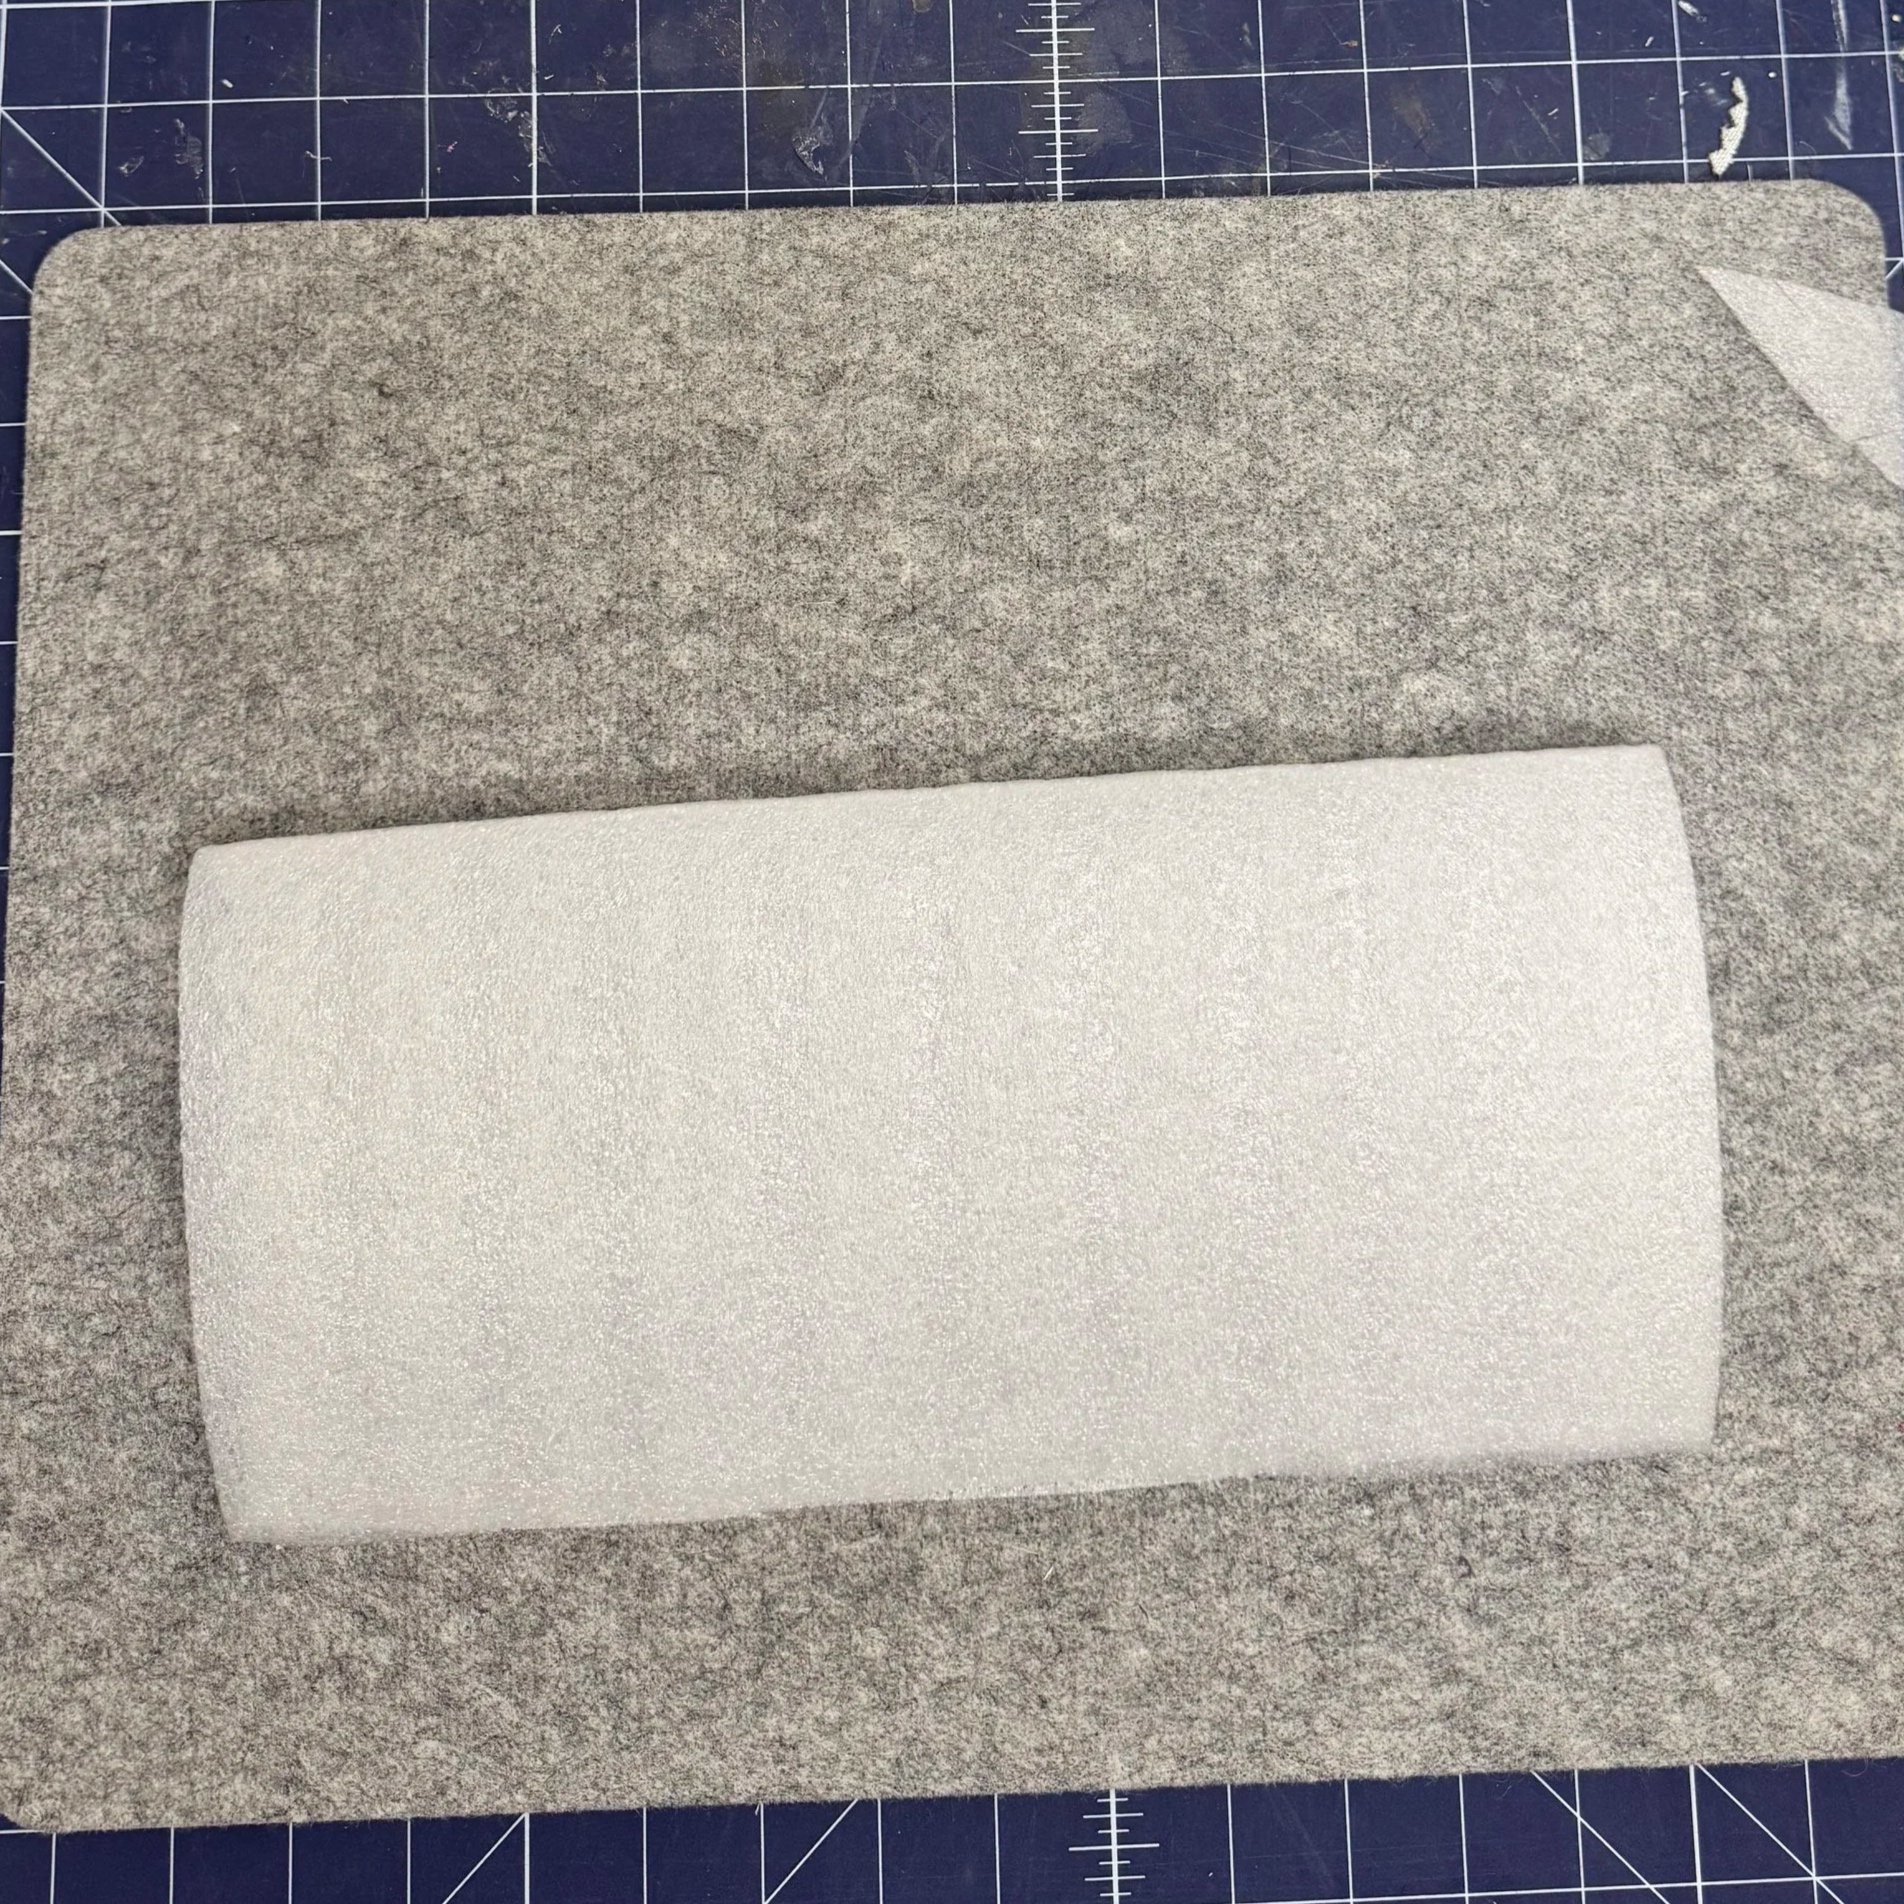
WINGS: EVA Foam 3mm
FEATHERS: Foam Wrap Roll
WING SUPPORT: 18 Gauge Floral Wire Stems
BASE: White Sun Visor Hats or White Sun Visor Hat
EMBELLISHMENTS: Target Pearl Necklace party pack
Scissors
PREPARING THE WINGS & CUTTING THE FEATHERS
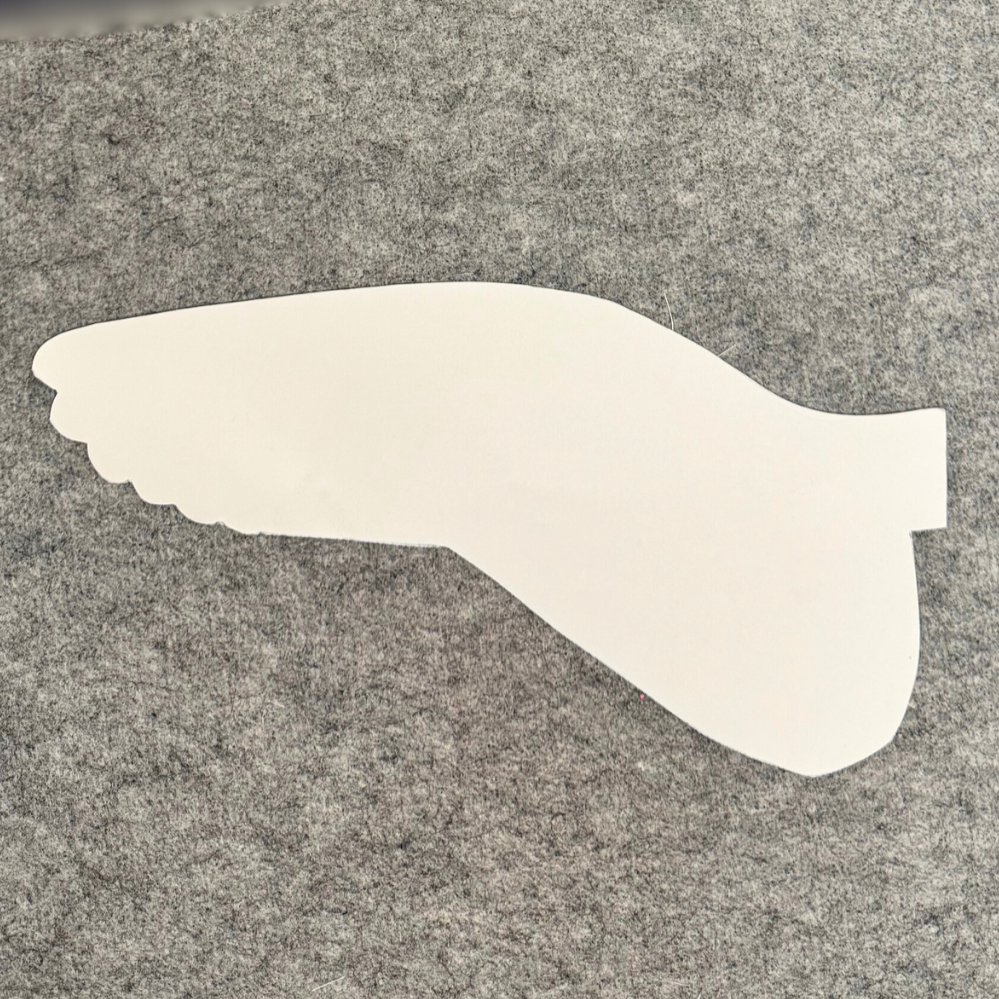
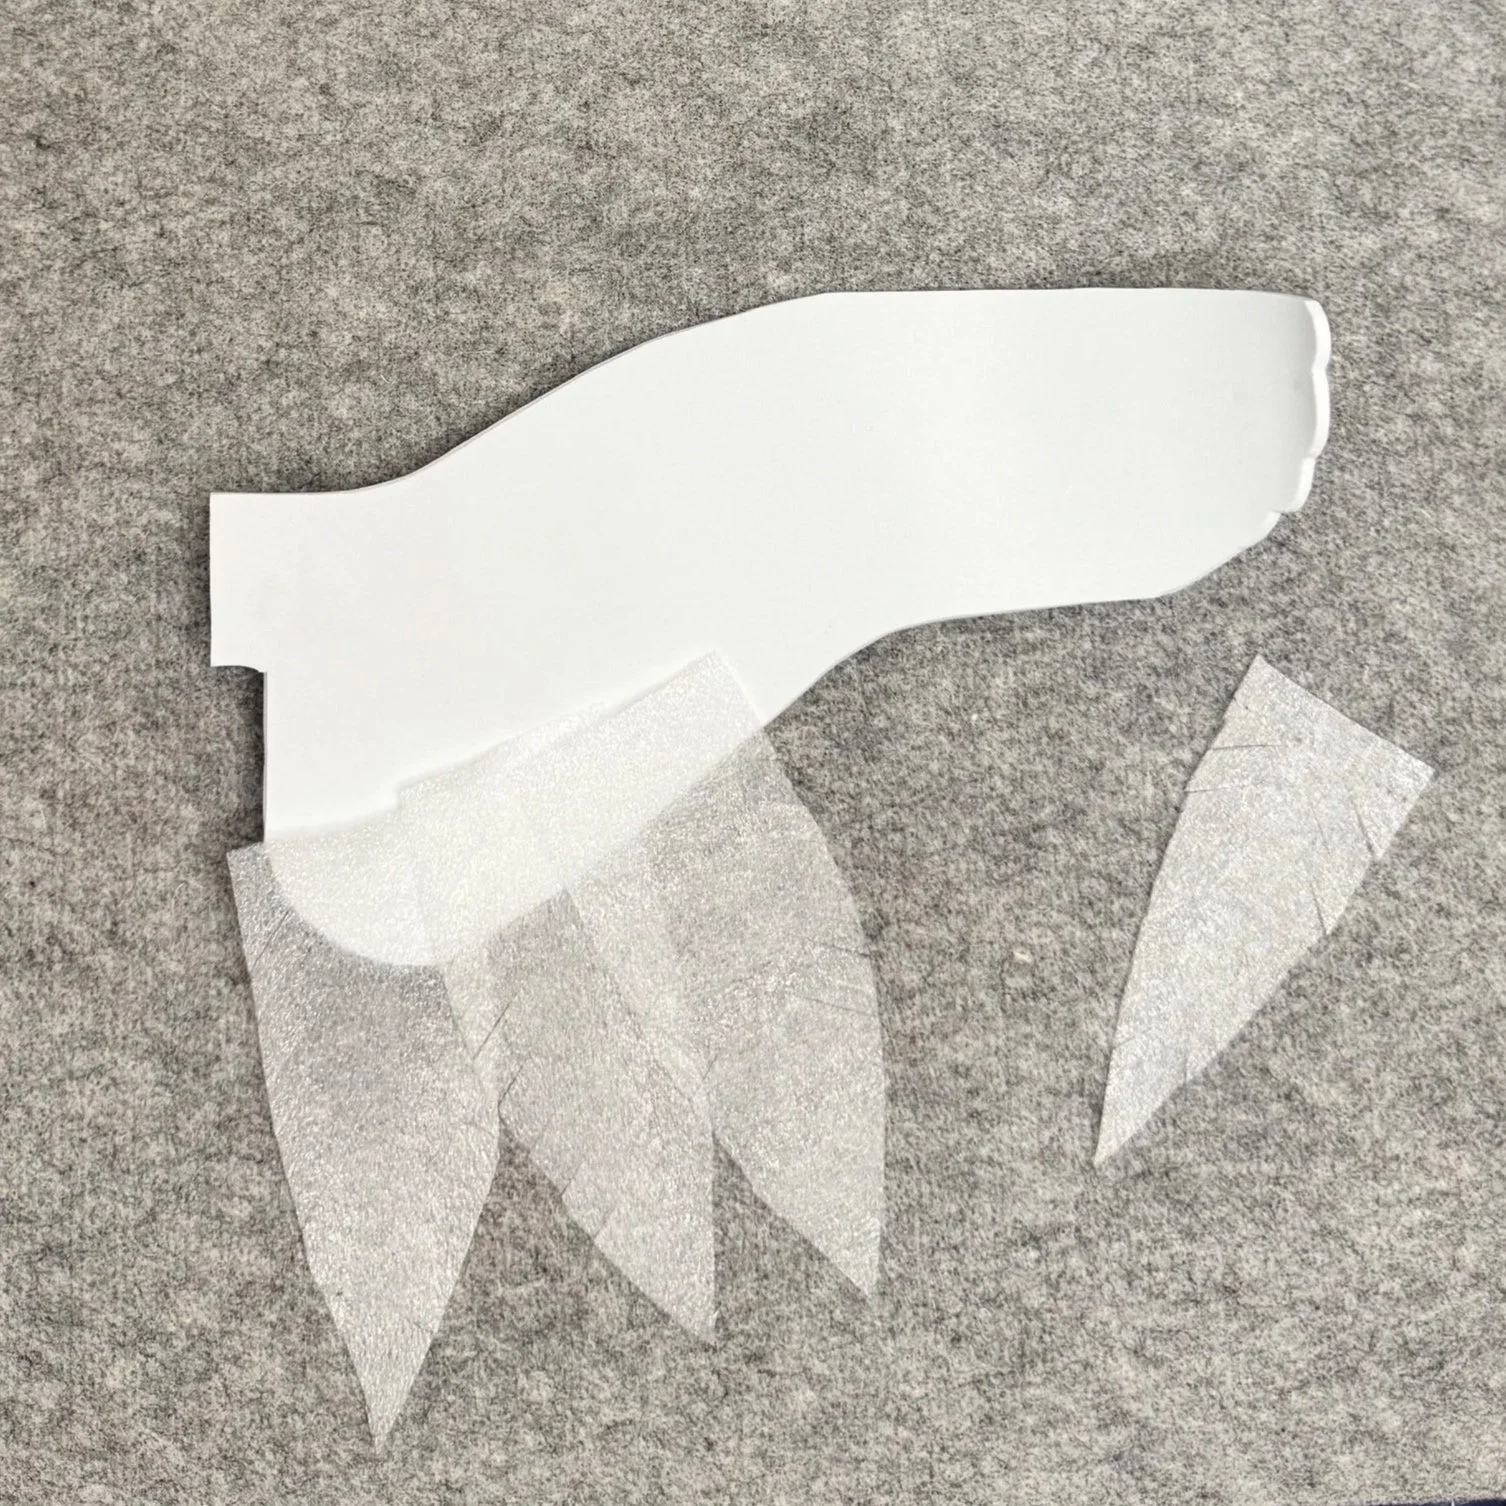
Wing patterncut from cardstock
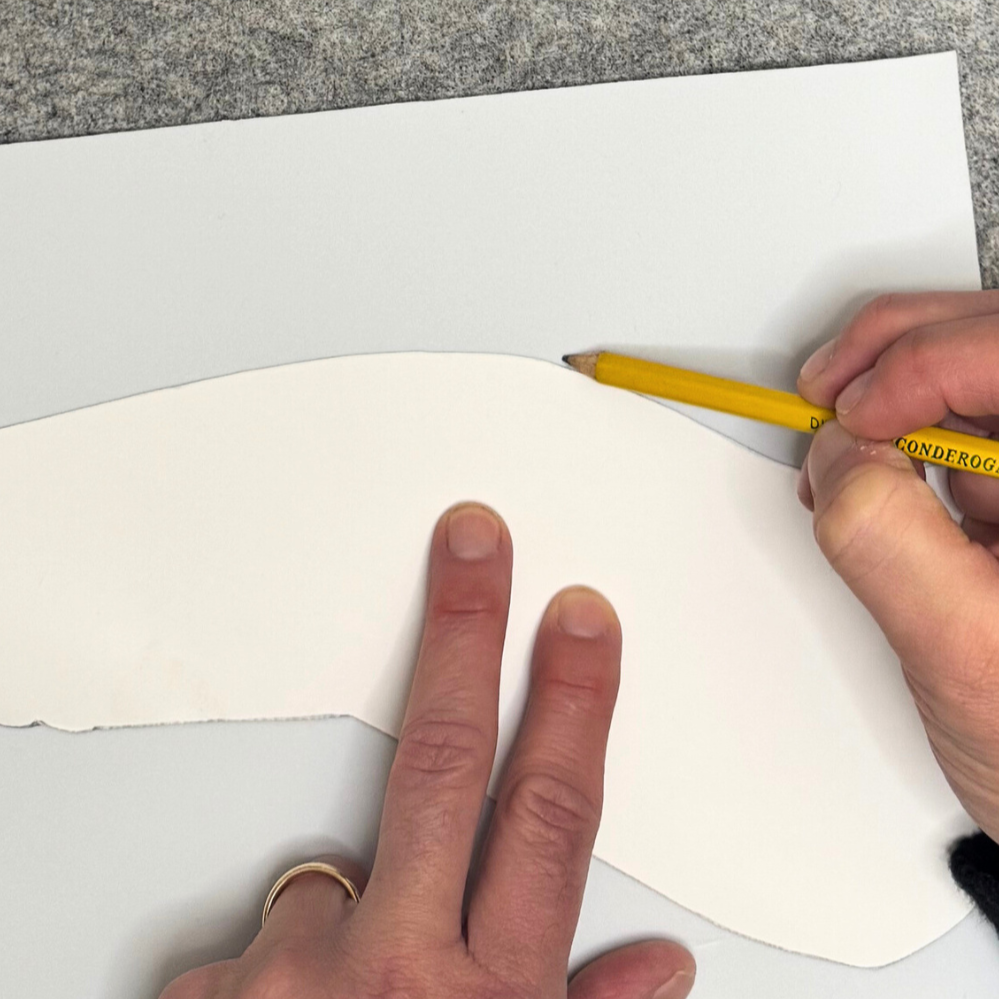
Trace wing onto EVA Foam 3mm
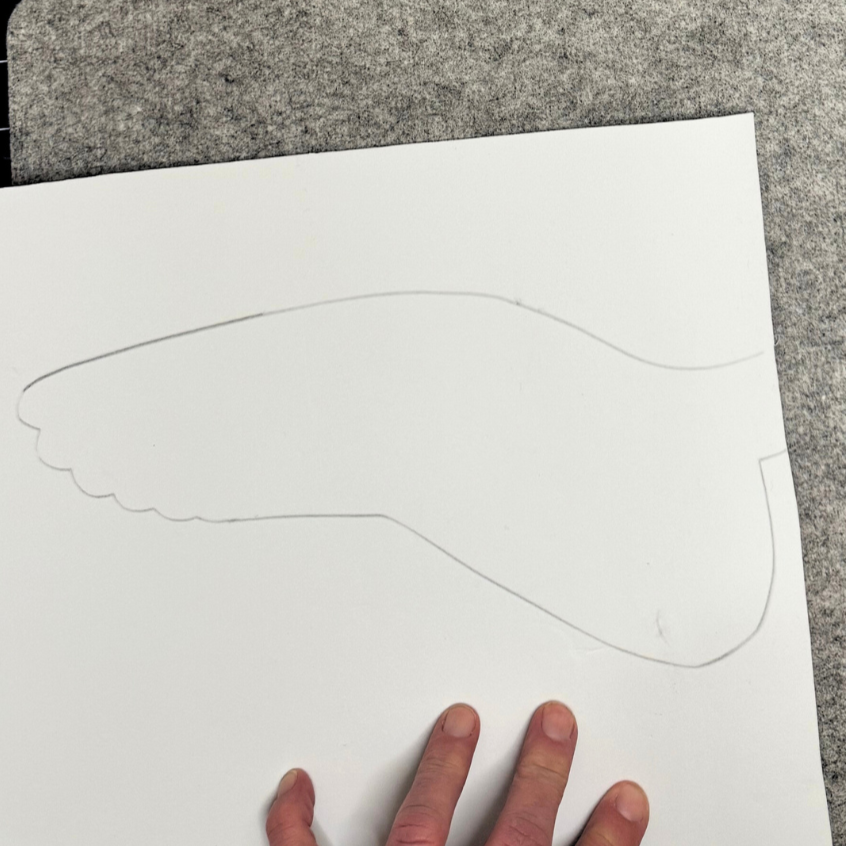
Cut out wing

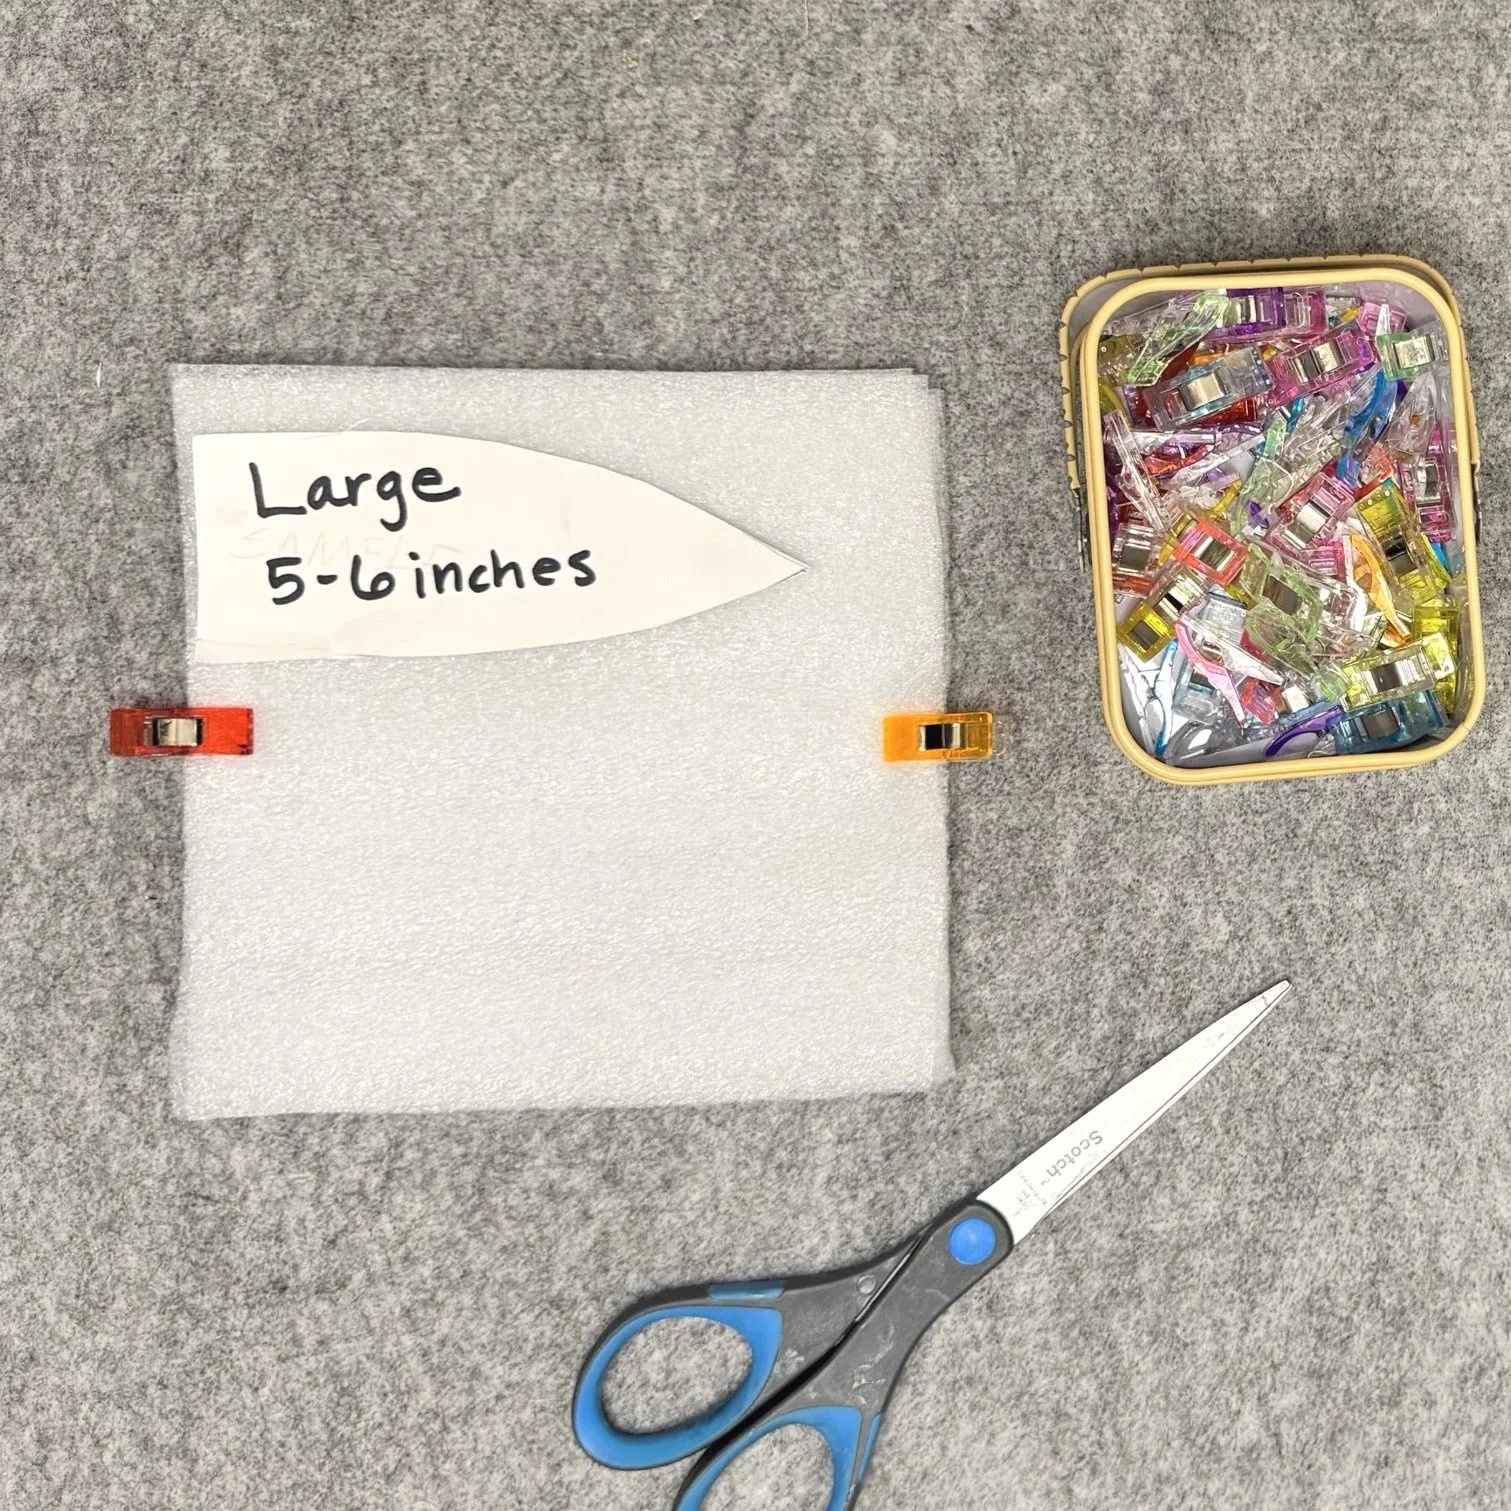
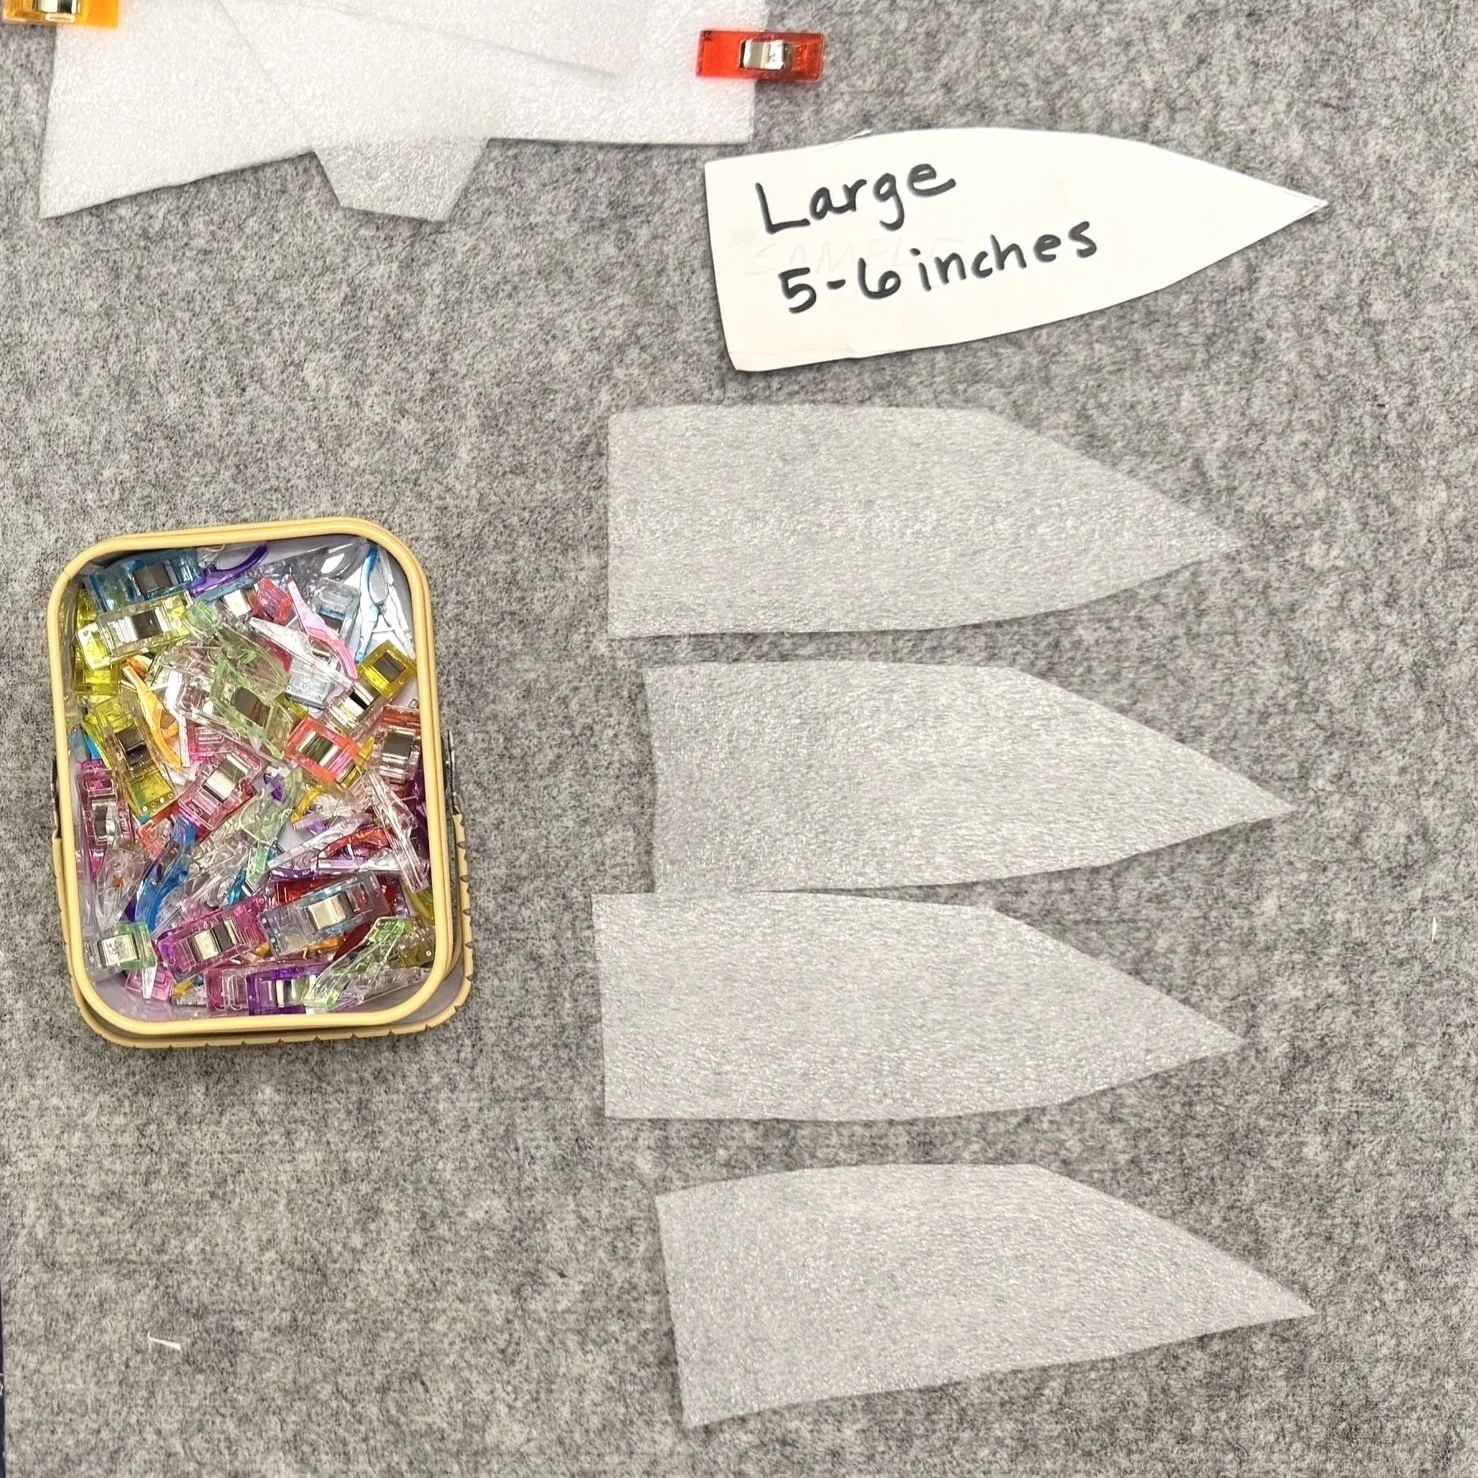
3 different wing sizes
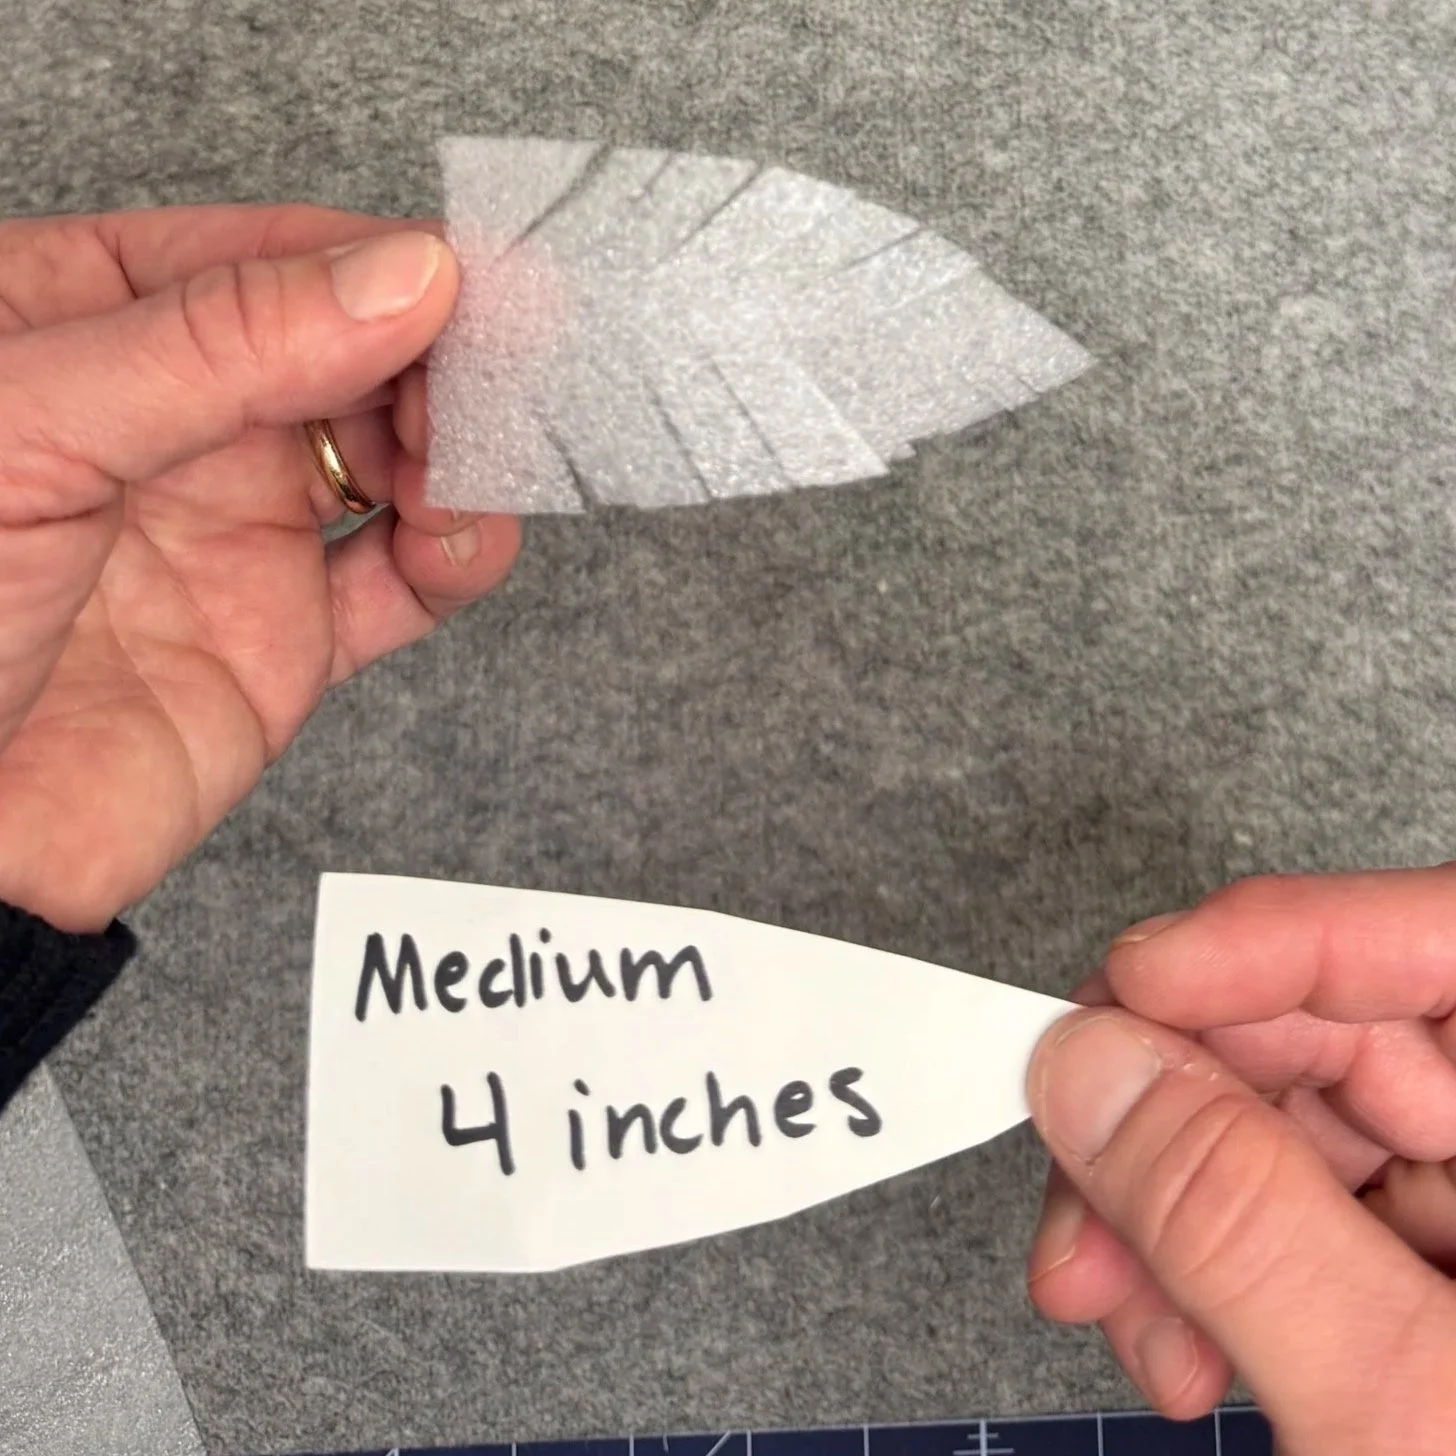
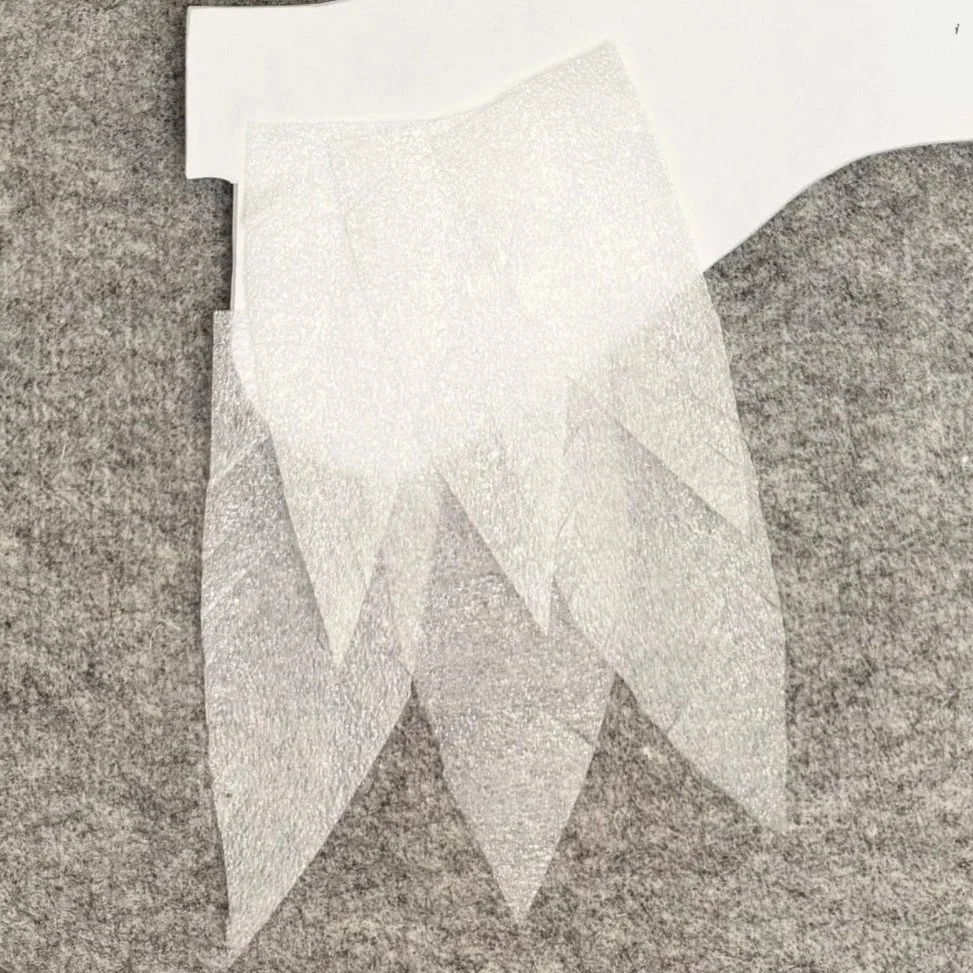
Use Foam Wrap for the feathers
BUILDING THE HEAPIECE
💡 TIP: Cut multiple “feather” layers at the same time—you’ll need more pieces than you think! Stack the Foam Wrap and secure the edges with sewing clips to prevent shifting. I can’t stress this enough… they do NOT have to be perfect. Once everything is assembled, you won’t be able to tell at all.
How to cut feathers: Cut the foam wrap “feathers” at a slight angle, and avoid cutting too close to either end—this helps keep the pieces sturdy and easier to attach. The shaded area shows the “no-cut” zone for reference.


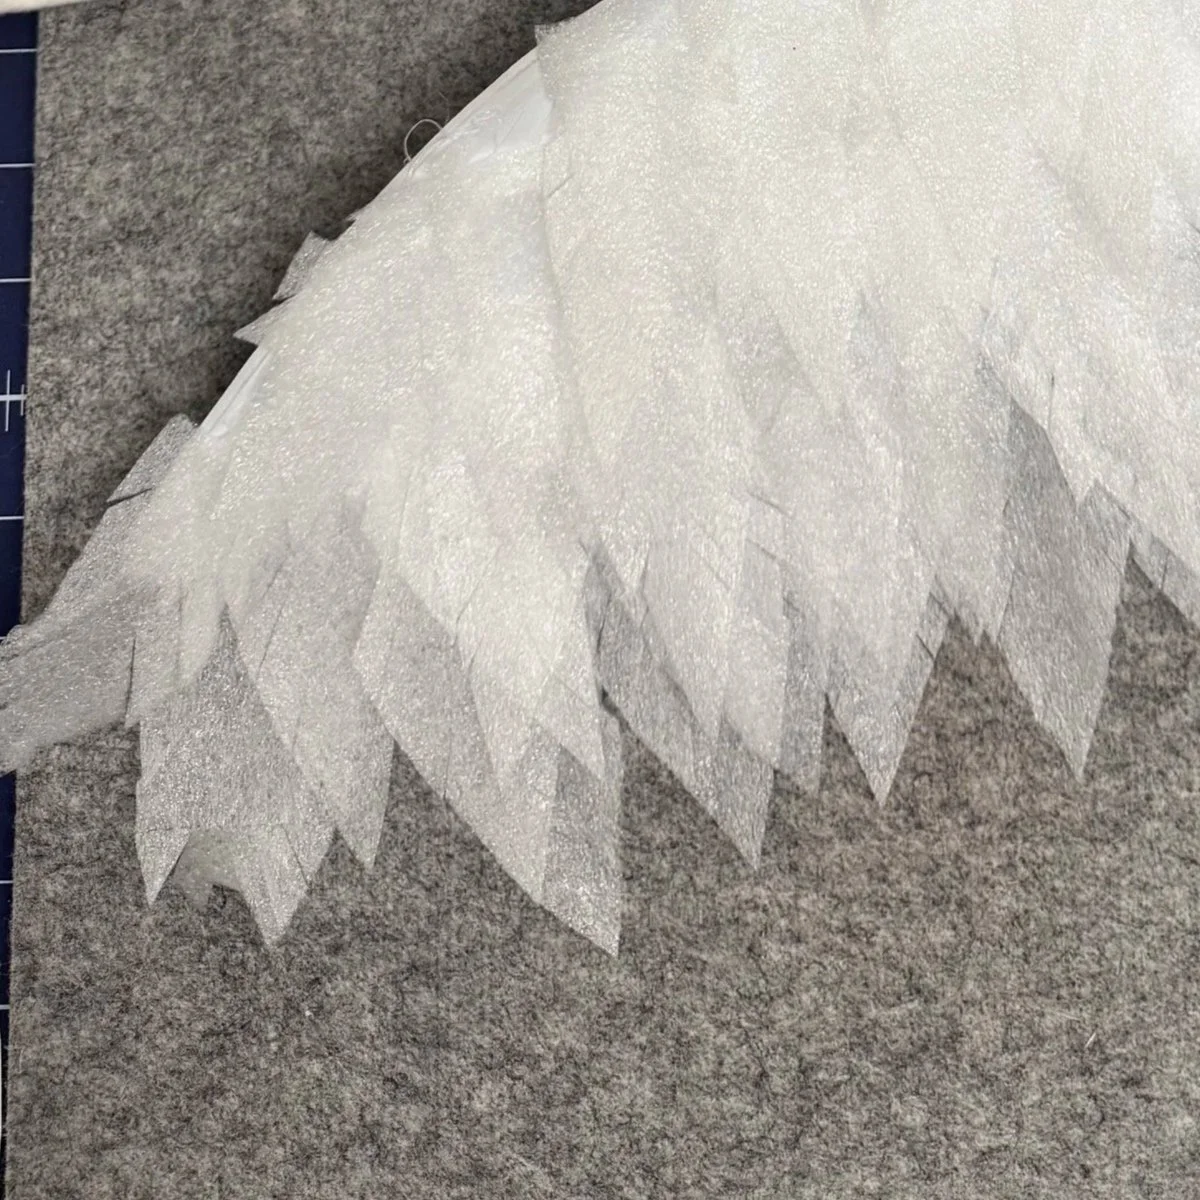
Feather Placement: Starting with the largest feathers and working up to the smallest, apply them in rows from the bottom up. Slightly overlap each feather to create fullness and hide the attachment points. Once all areas are attached, gently ruffle the feathers to add volume. HINT: use low setting on the hot glue gun to apply feathers (less is more)
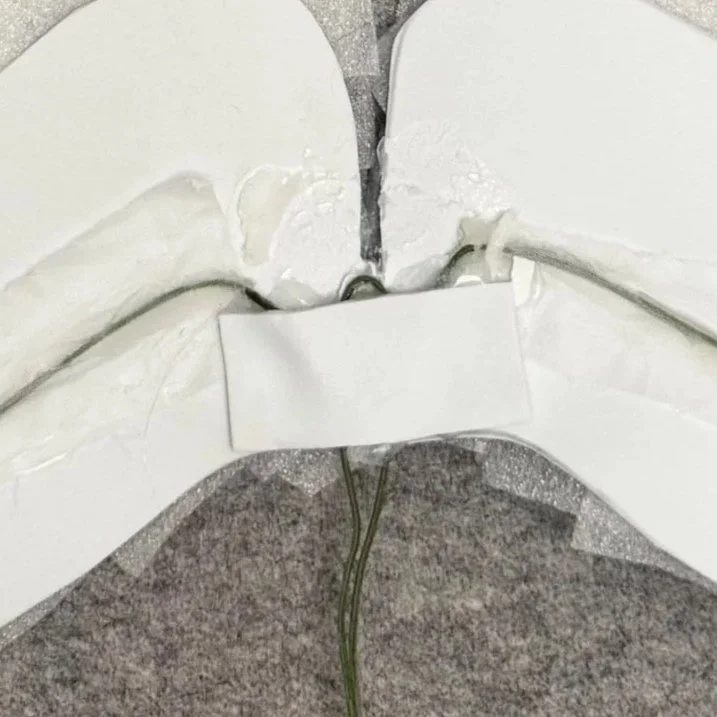
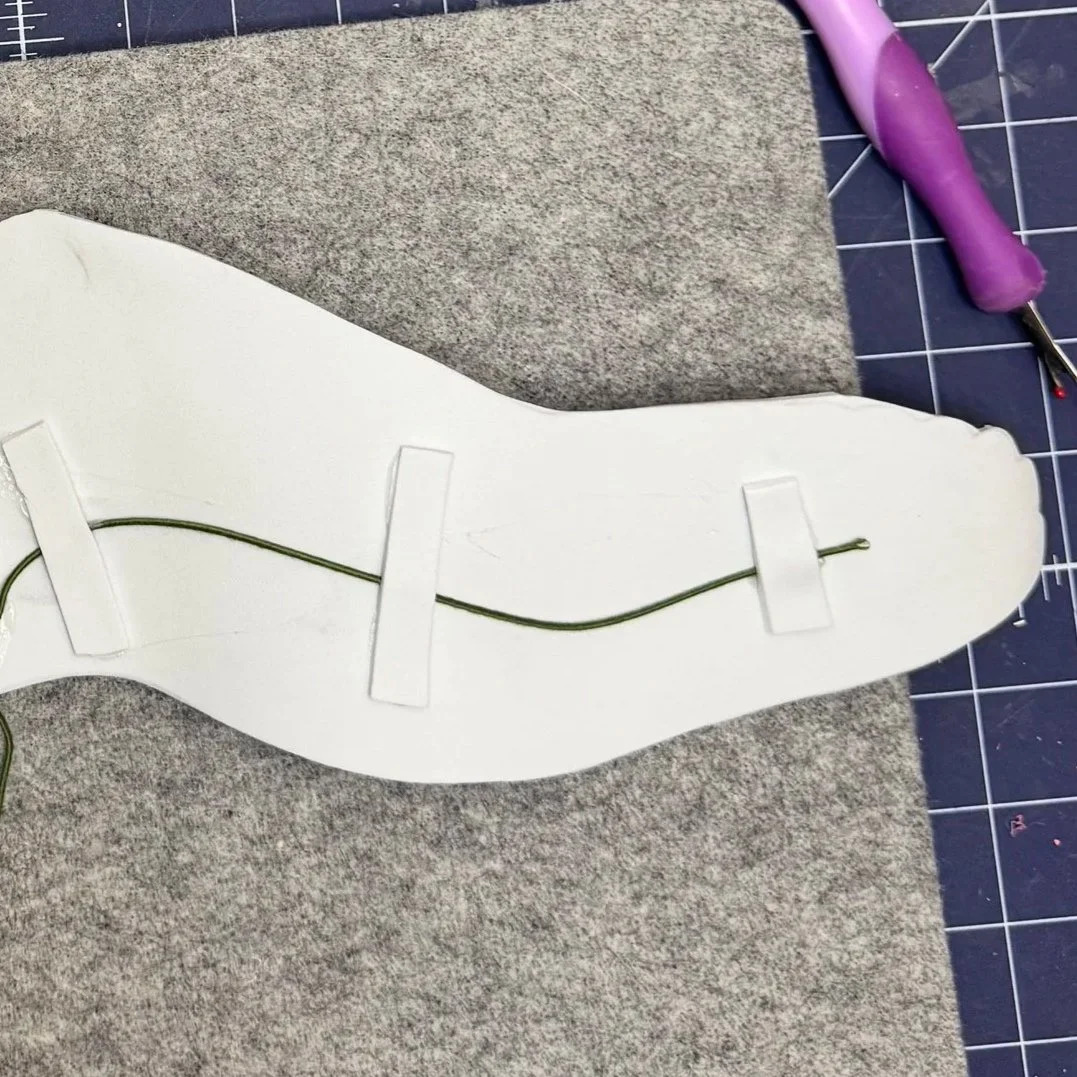
Wing Support: Hot glue the center pieces together by slightly overlapping the EVA foam. Bend the 18-gauge floral wire stems to shape, then secure them in place with additional EVA foam pieces and hot glue.

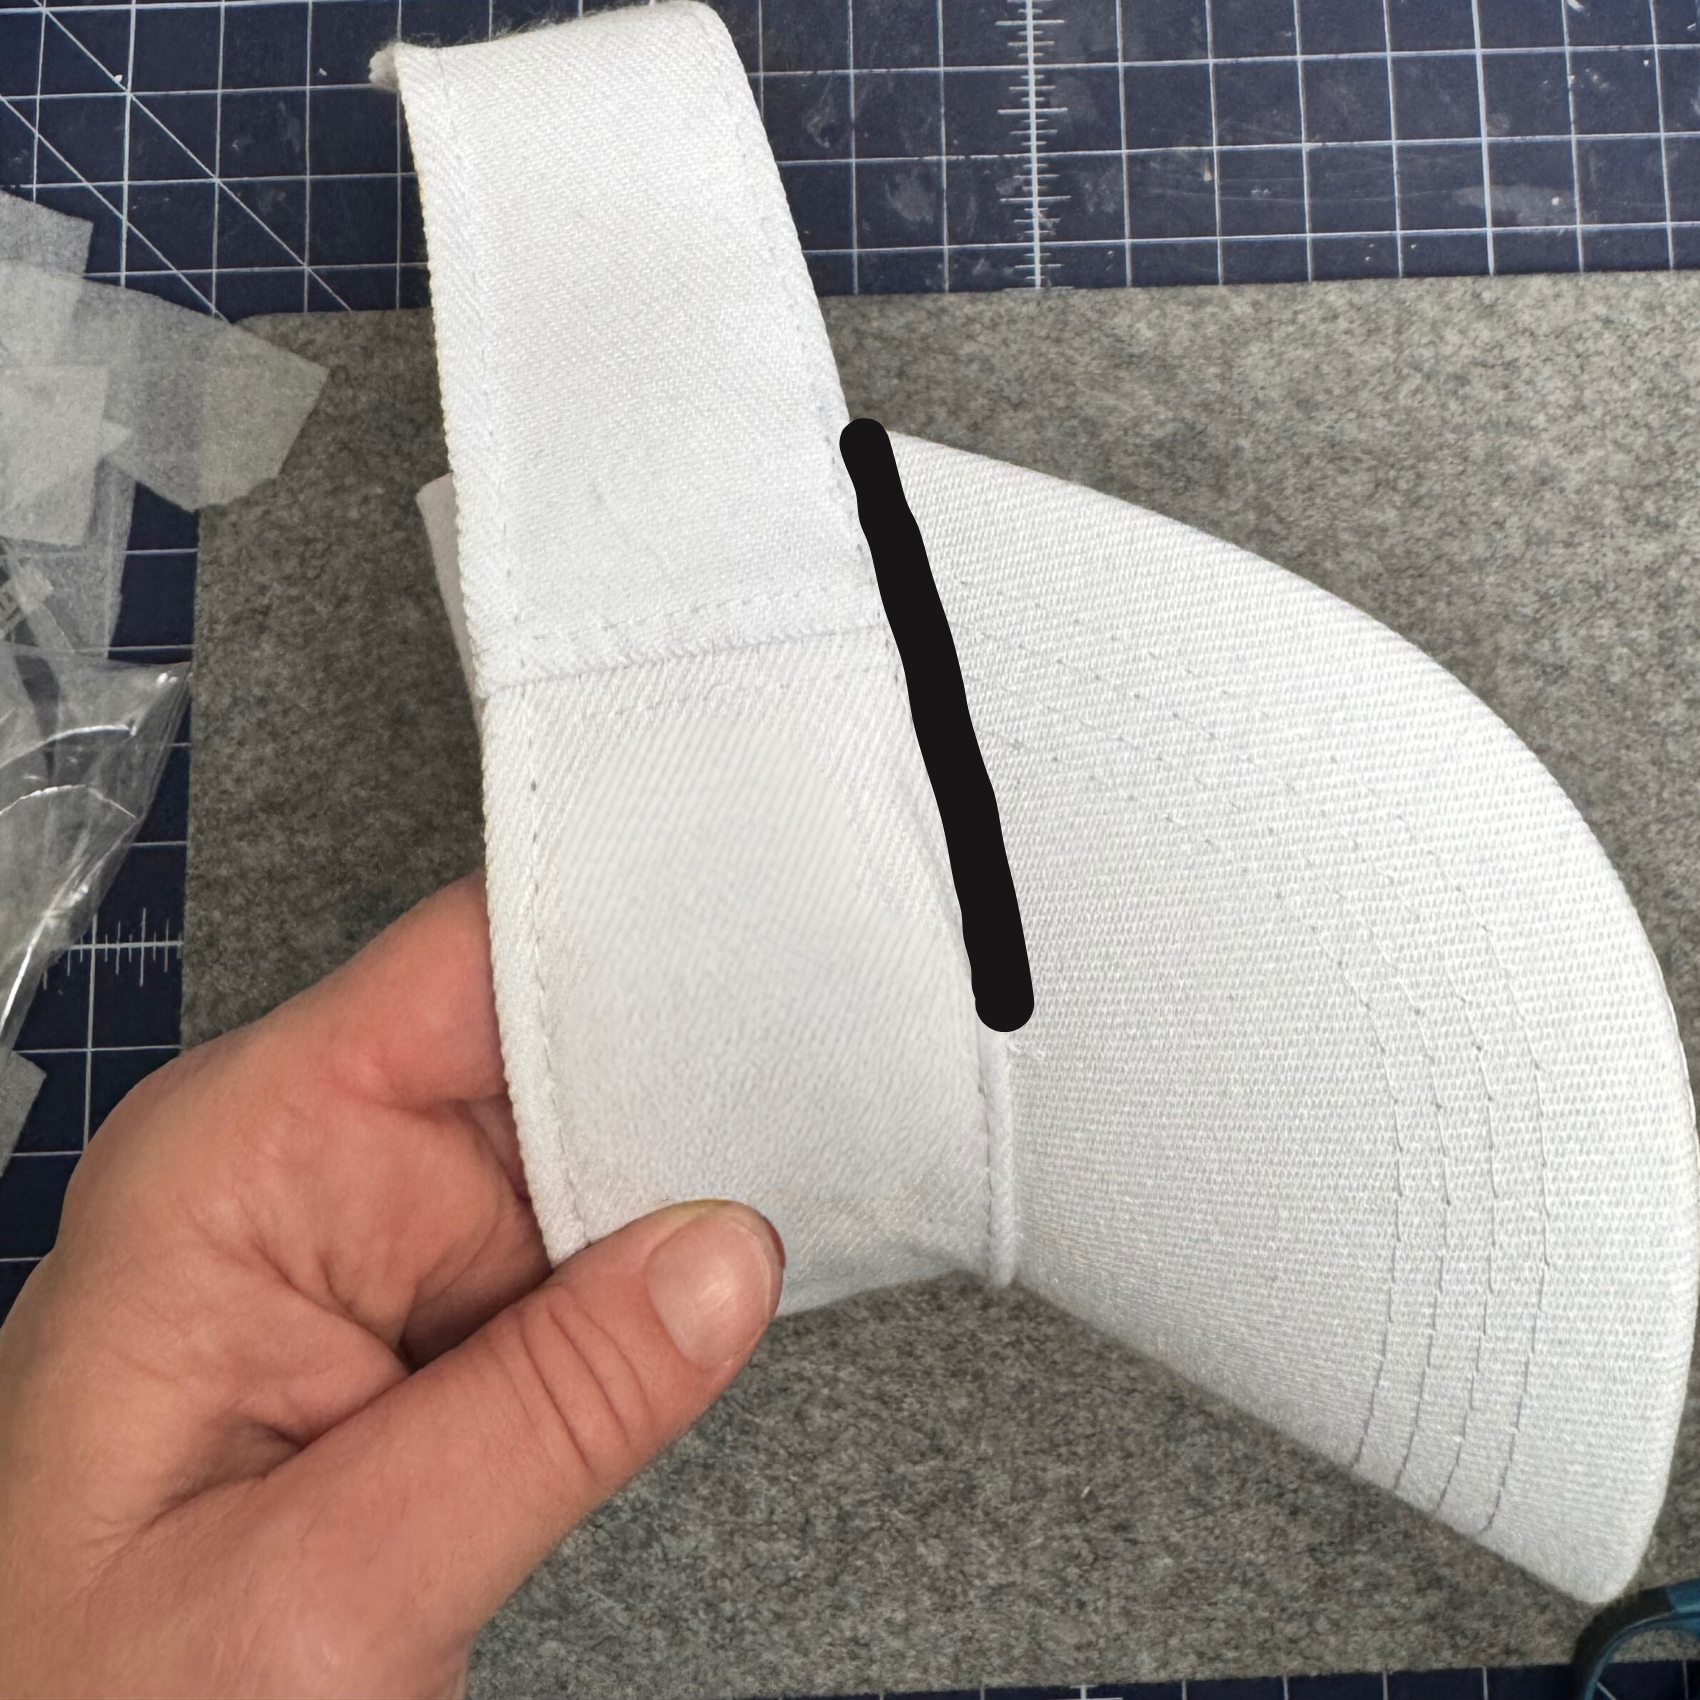
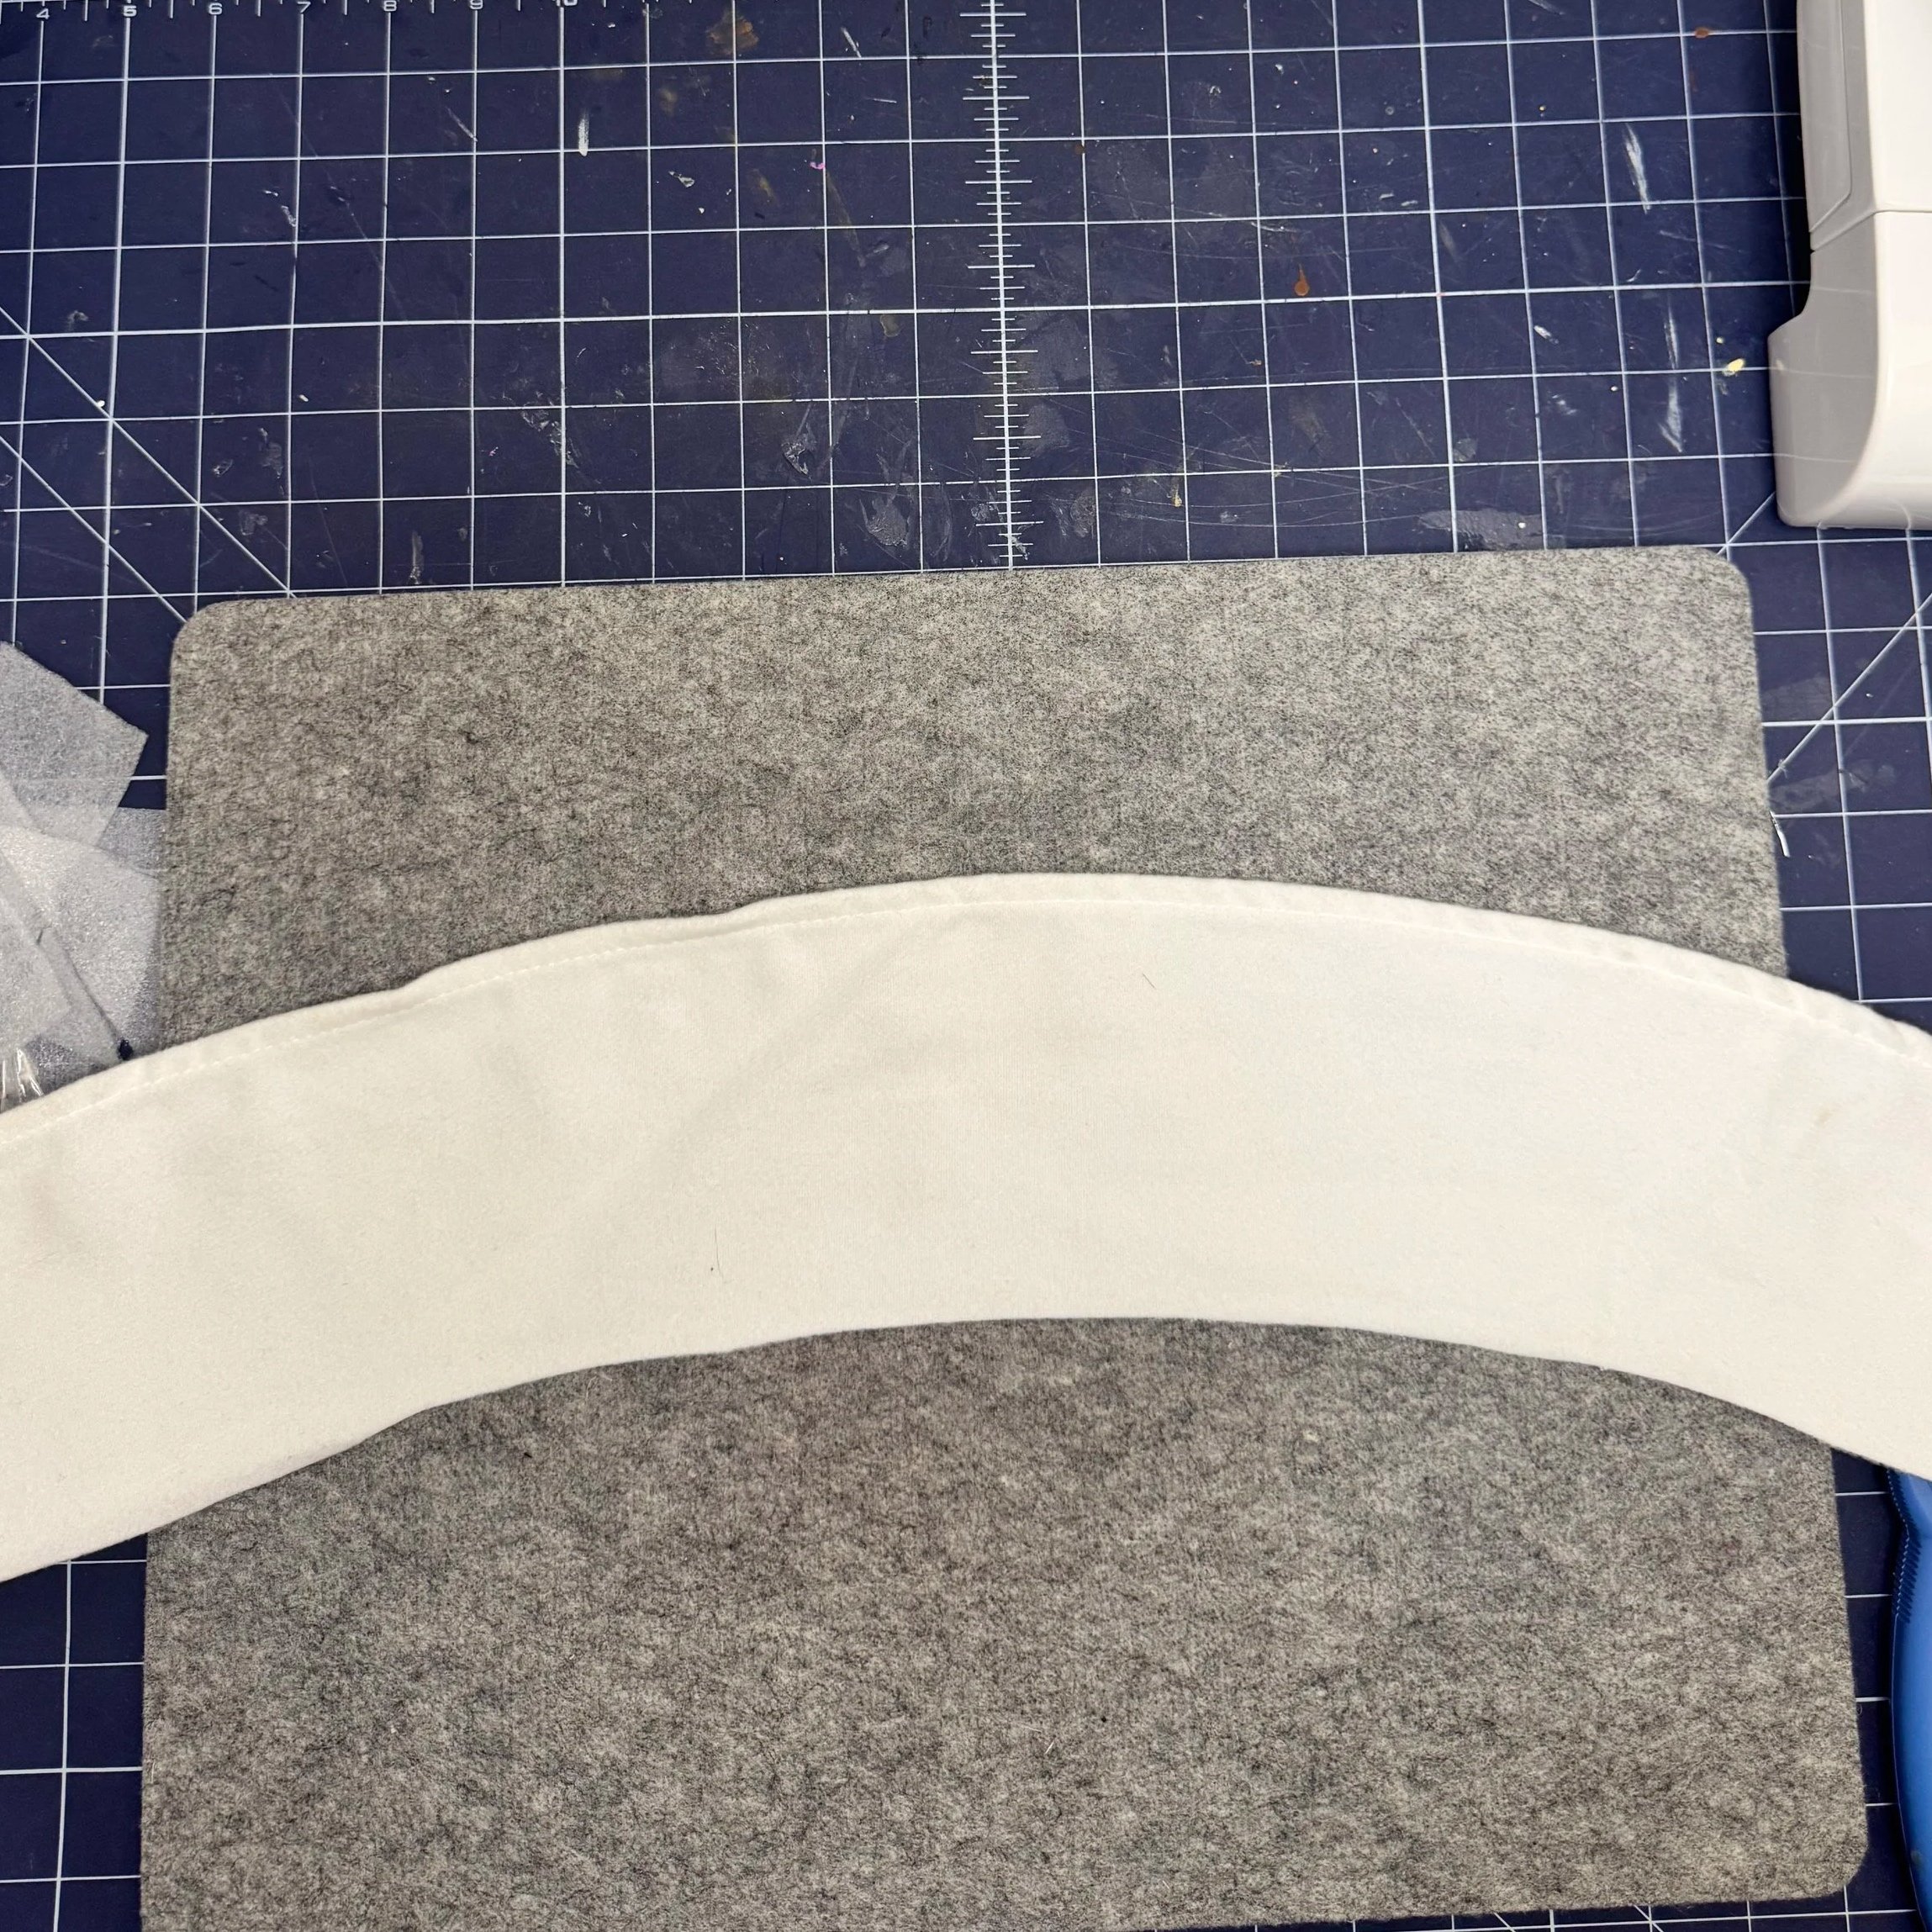
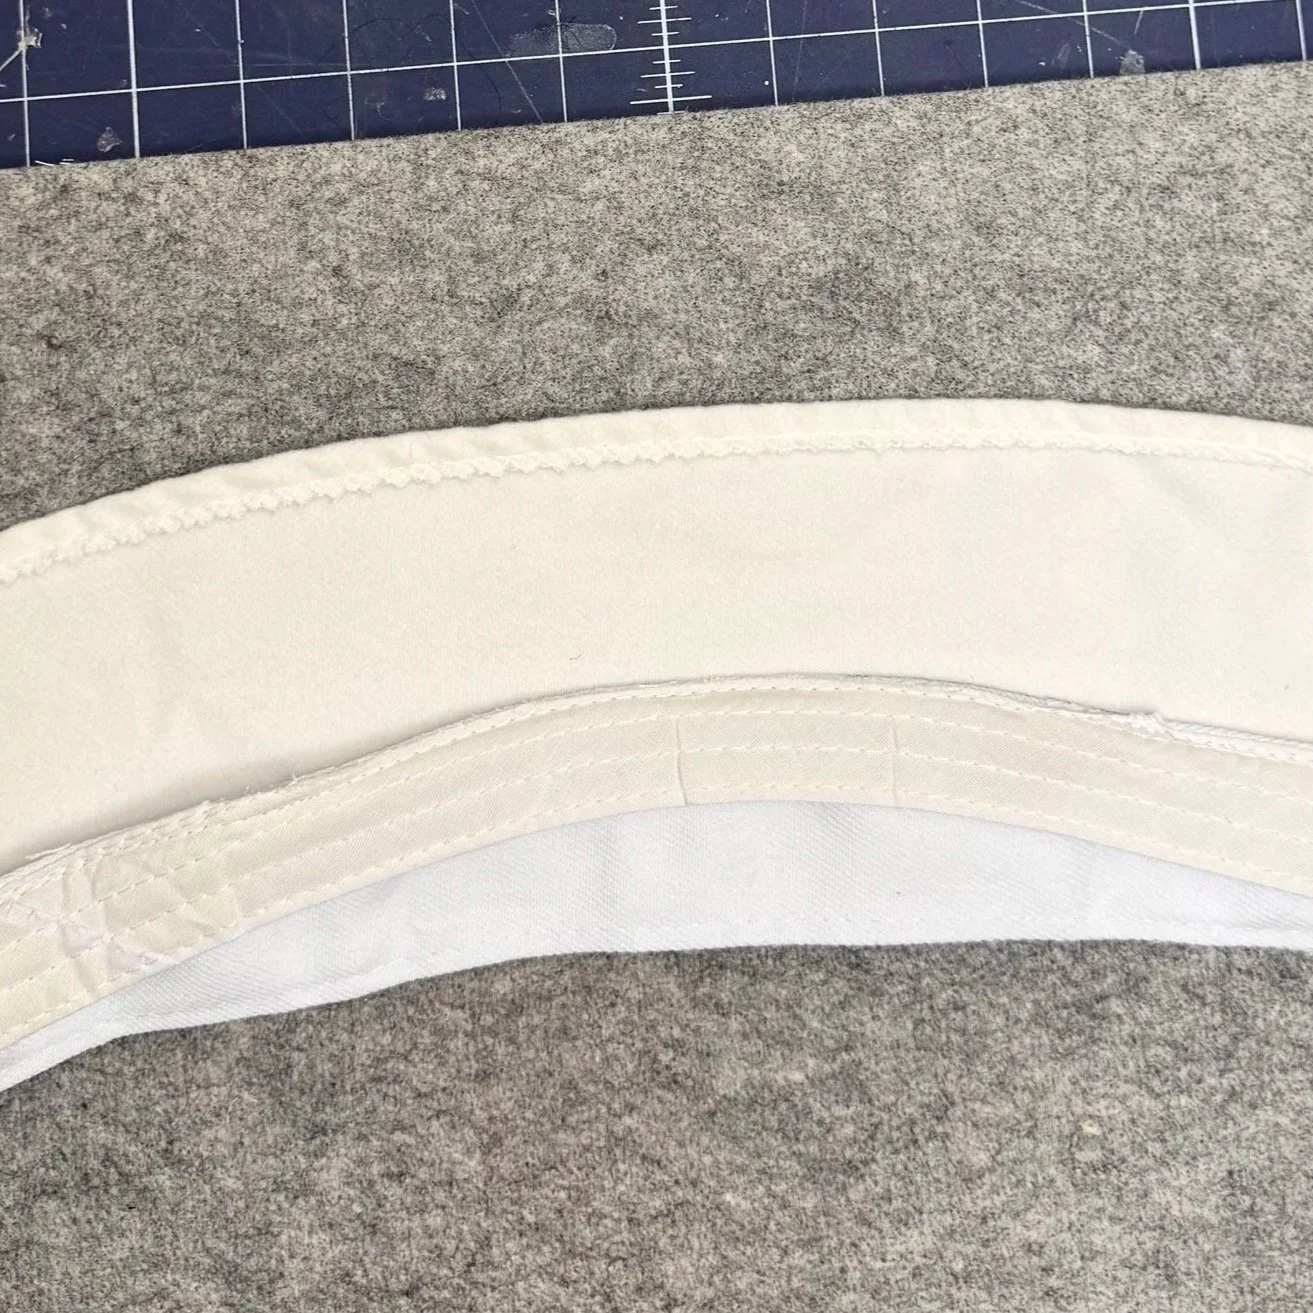
Base “Sun” Visor: Remove the bill by cutting along the seam (as marked in the second photo). It comes off easily if you follow the groove. Using a visor as the base helps balance the weight and keeps the headpiece comfortable for longer scenes.
‼️The visor is worn upside down and functions as a headband.‼️


ATTACHING THE WINGS
How to attach the Wings and Band to the Visor (SEE VIDEO BELOW): For the band, I recommend using a slightly thicker material so interfacing isn’t needed (I did not use Pellon SF101). The fabric holds its shape well on its own. Cut the band approximately 4–5 inches wide and long enough to match the circumference of the visor.💡 Hint: Add a slight curve to your cut so it follows the natural shape of the visor.
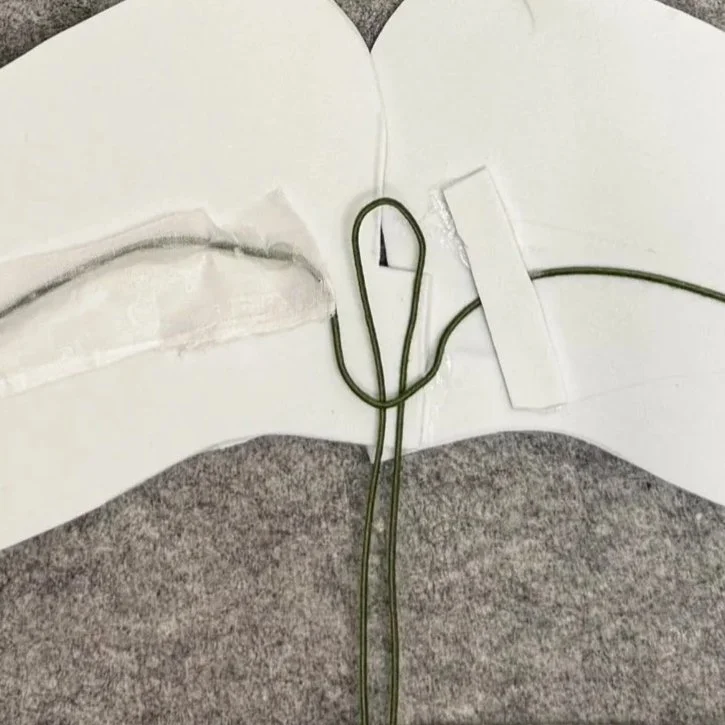
To attach the floral wire, poke two holes in the visor band. Fold the wire in half, then slide both ends through the holes so about 2-3 inches of wire extend through. Bend the wire ends to a 90-degree angle and secure everything in place with hot glue.


⚠️ Safety Tip: Hot glue and wire edges can be hot—allow everything to cool completely before bending or adjusting.
How to connect the floral wires: Slide the wire from the visor under the wire on the wings. Cover the joined wires with a small piece of EVA foam and secure with hot glue. Let it cool completely, then bend the wings into any position you’d like.

How to attach the Wings and Band to the Visor.